The Decimate Modifier in Blender reduces dense meshes into simpler meshes. This improves performance and memory usage. It is a simple modifier and this guide will show you exactly how to use it in Blender.
This page may contain affiliate links which pay me a commission if used to make a purchase. As an Amazon Associate, I earn from qualifying purchases.
What the Decimate Modifier Does
The decimate modifier is one of the many available mesh modifiers in Blender. It takes the geometry of a mesh and reduces it by an amount that we define. It reduces the geometry in a way to minimize change to the overall shape of the object.
This makes the object’s geometry less dense and more efficient. See this quick tip to learn how to see vertex and polygon count in Blender.
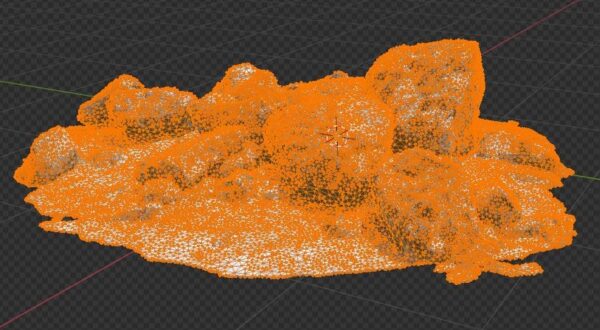
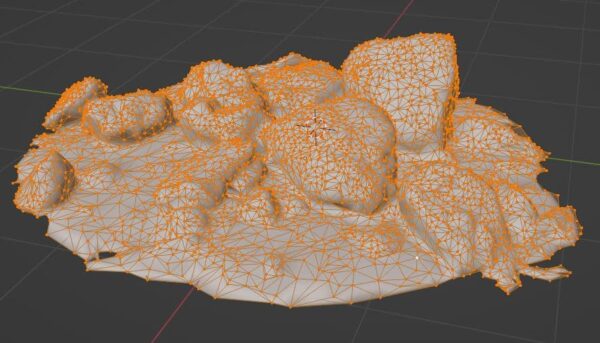
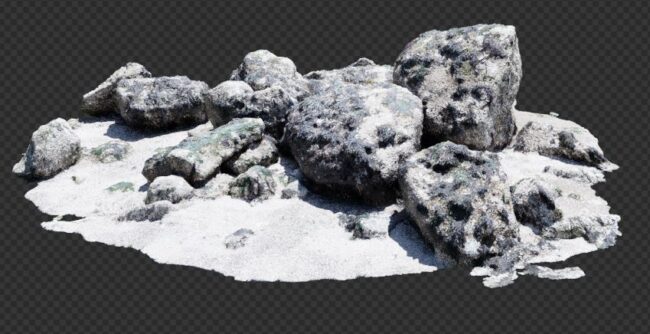
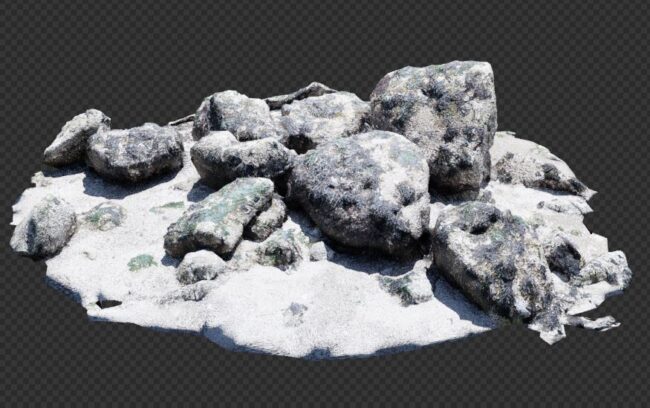
In the following images, a photoscanned rock pile with 60,000 faces is reduced by 80% with minimal impact to the shape and detail of the model.
Adding the Decimate Modifier
To add a modifier in Blender, we select the object we want to add the modifier to.
Navigate to the modifier tab in the Properties Panel.
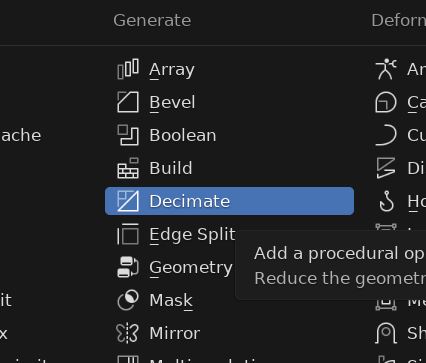
Choose “Add Modifier” and we find “Decimate” in the column labeled “Generate.” It’s located just below the build modifier.
When the Decimate modifier is added, it will appear in the Modifiers Stack.
Decimate Modifier Settings
The Decimate modifier’s controls are fairly simple. There are three methods of decimating the mesh:
Collapse: Collapses the edges. This is the default.
Un-Subdivide: Attempts to combine faces in the opposite manner of subdvision.
Planar: Consolidates only faces which are planar (adjacent and facing the same direction).
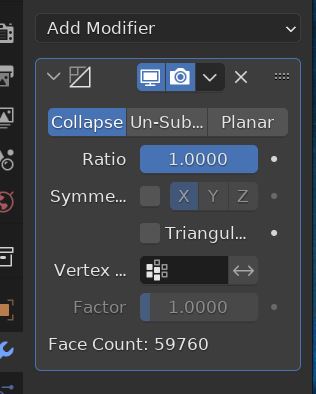
There is also an option to symmetrize the mesh when it is decimated and a setting to turn all faces into triangles (triangulate).
We can choose a vertex group of the object and the Decimate modifier will only affect geometry assigned to that vertex group.
Setting Decimate Ratio
The Decimate Ratio is the most important setting for the modifier.
The ratio is what percentage we want the mesh reduced to. In the below example is a mesh with about 60,000 faces (the modifier panel displays the object’s face count).
When the ratio is set to .2 it will remove 80% of the faces.
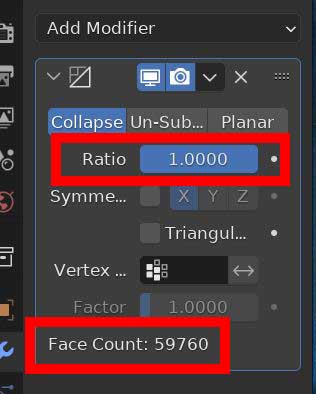
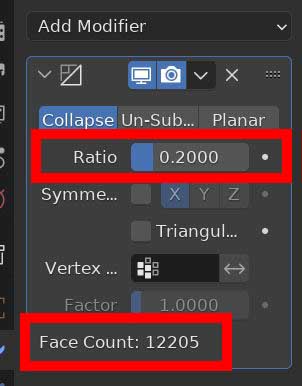
The resulting mesh looks like this…
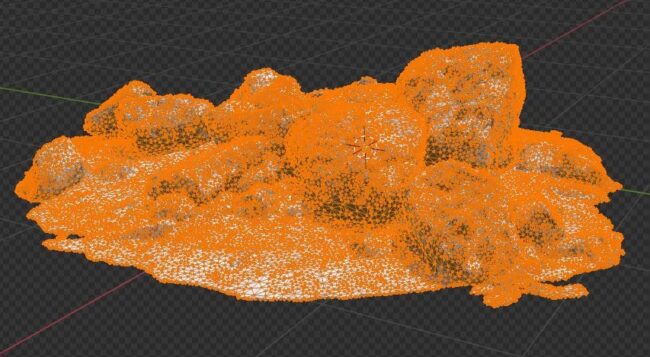
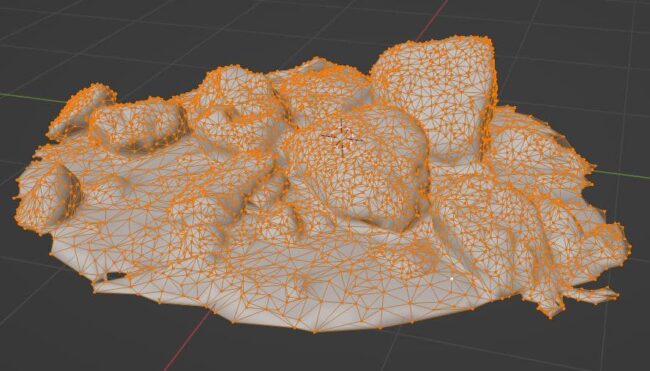
And here’s how the rendered object looks before and after the decimation.
Applying the Decimate Modifier
The Decimate modifier’s impact on the geometry can not be viewed in edit mode until the modifier is applied.
Once we apply the modifier, we will no longer be able to make changes to the modifier’s settings.
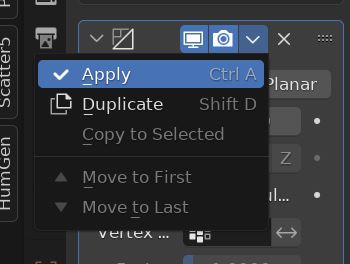
To apply the modifier, go to the controls in the modifier stack. Select the drop-down arrow next to the modifier’s name. Choose the first option for “Apply.”
The applied modifier will be removed from the stack and the mesh will now be permanently decimated.
More About Modifiers
If you want to better understand modifiers in Blender, I have my complete guide to them. I also have lessons on a modifier that makes copies of objects and one that turns objects into wireframe models.
Here is a link to the Blender Manual page on the Decimate modifier.
Please have a look around my site and check out my YouTube channel for video tutorial. I love Blender and always enjoy sharing information on how to use it.
Consider signing up for my e-mail list to stay informed on important and exciting Blender updates. Stay creative!
Get Brandon’s Newsletter
By submitting, you agree to receive periodic e-mails from me. You can unsubscribe at any time.


