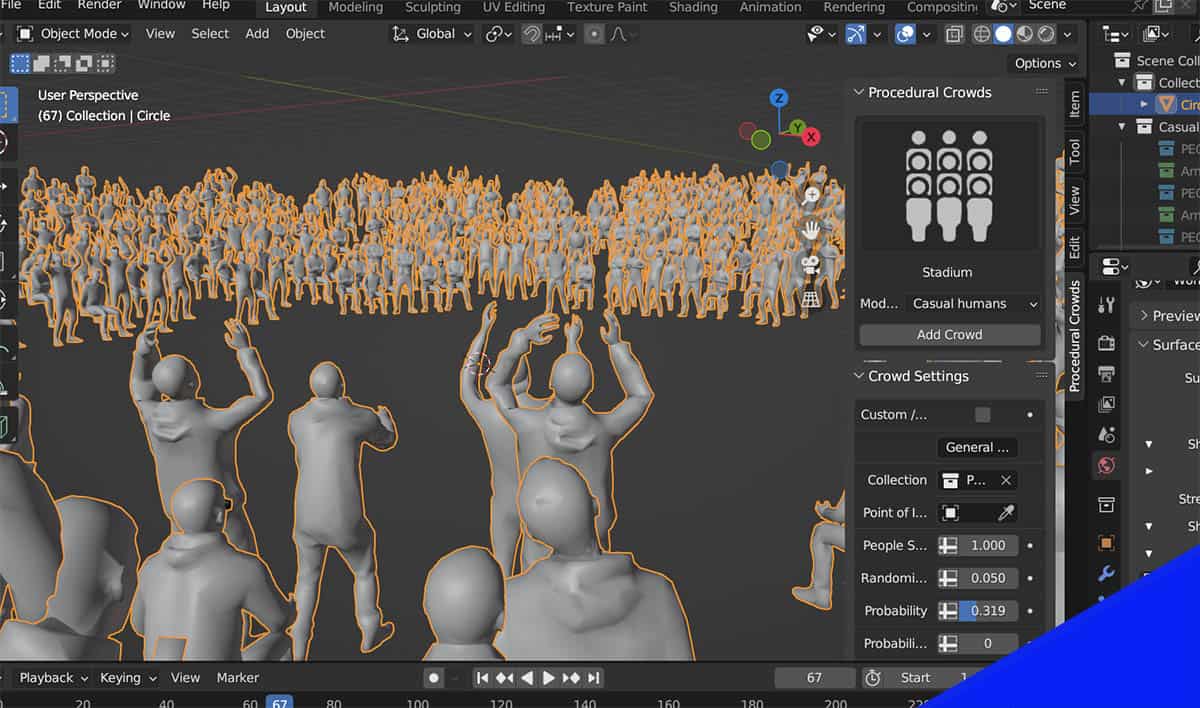
Many 3D scenes benefit from crowds of people walking around. The Procedural Crowds add-on by Difffuse Studio generates crowds of people instantly. The plug-in is packed with settings and features to get the crowd just how you want it.
Here’s everything you need to know about using the Procedural Crowds add-on for Blender 3D.
This page may contain affiliate links which pay me a commission if used to make a purchase. As an Amazon Associate, I earn from qualifying purchases.
What the Add-On Can Do
Procedural Crowds comes with a library of 3D human characters to build crowds. With the crowds, we can do a lot of things, including:
Download & Install Procedural Crowds
Procedural Crowds comes with three files available for download. One is the add-on itself, one contains the asset packs and one is used to add custom assets to the add-on.
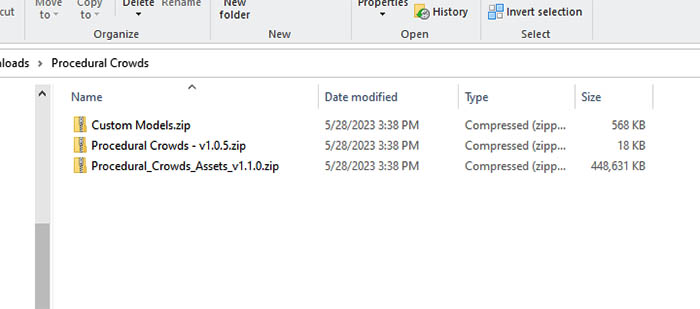
To install the plug-in, do not unzip the file labeled “Procedural Crowds.” DO unzip the folder labeled “Procedural_Crowds_Assets.”
Go the the User Preferences in Blender and click the add-ons tab to install an add-on. Once installed, expand the options for Procedural Crowds.
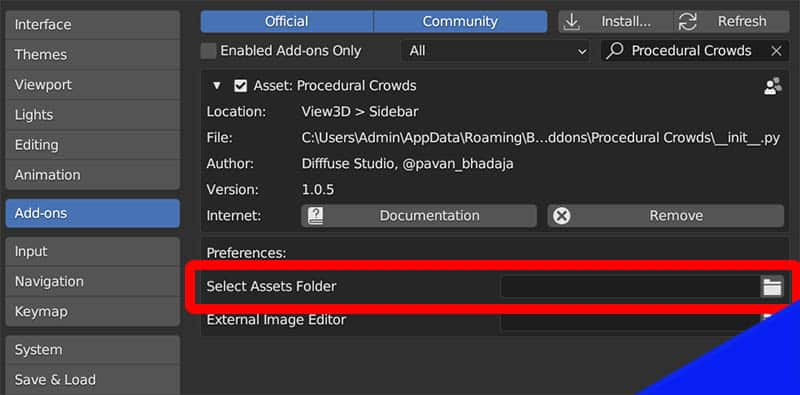
You’ll see a file navigator to tell the add-on where the assets are stored. Navigate to the folder containing the assets that came with the add-on.
How to Use the Procedural Crowds Add-On
Controls for the Procedural Crowds addon appear in the sidebar menu. A tab labeled “Procedural Crowds” will display when the add-on is installed.
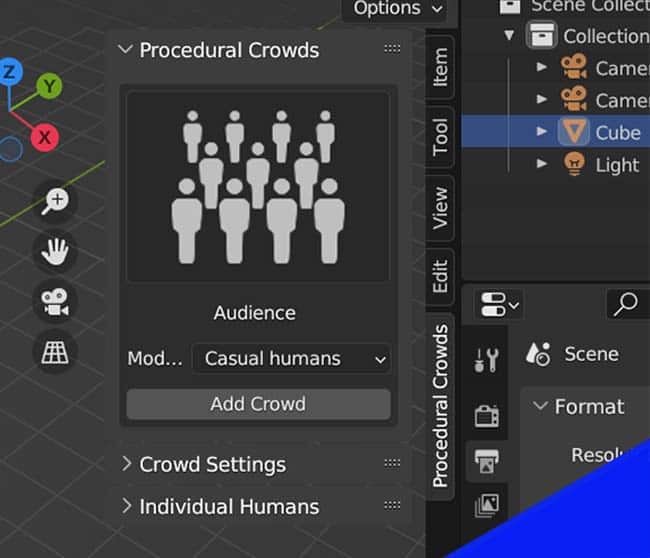
A display button will default to “Audience” and clicking it gives us six options to choose from. Each option is explained in detail below.
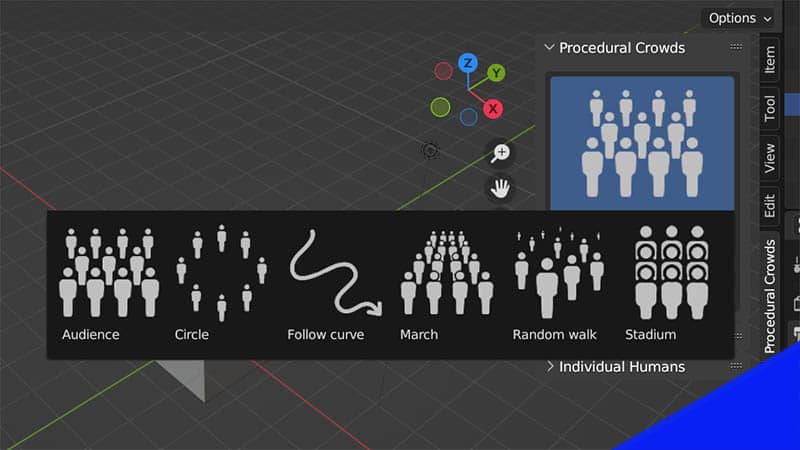
To add a crowd, select the option and press the “Add Crowd” button. The crowd is added as a single object into the scene.
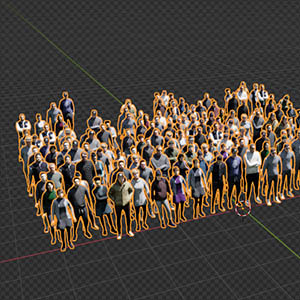
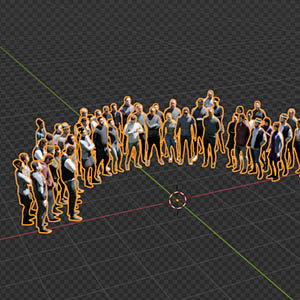
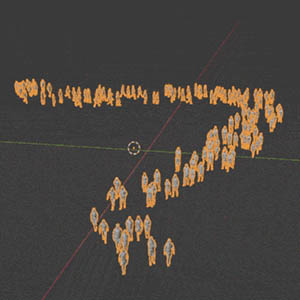
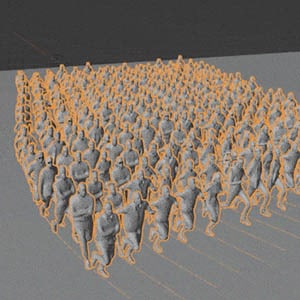
A panel labeled “Crowd Settings” appears in the sidebar when a crowd is selected.
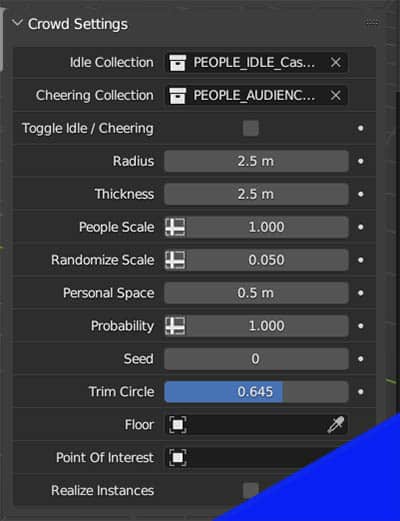
Here we procedurally edit and customize the crowd depending on the type of crowd it is.
Audience
Audience is the most basic setting. It creates a large mass of people. Settings allow us to control the width, depth and density of the crowd. We may control the audience’s randomness and the personal space around each character.
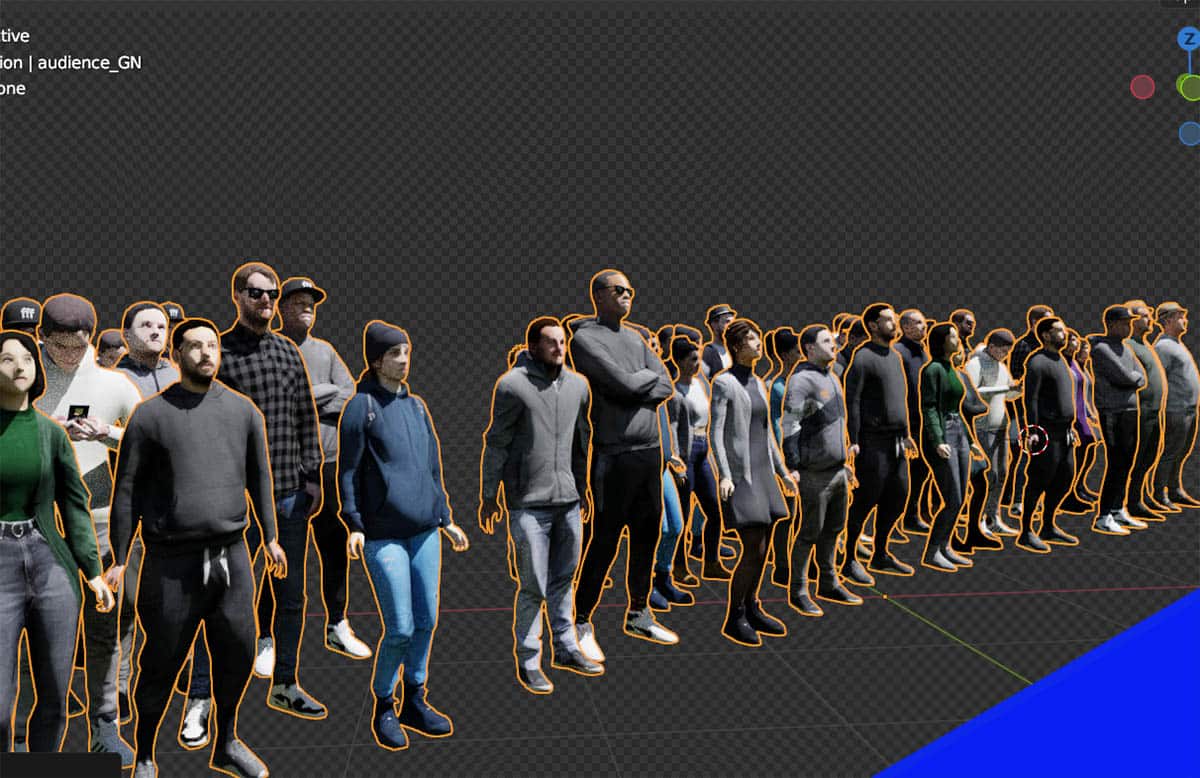
We can select an object (perhaps an empty object) to use as a “Point of Interest.” This will cause the characters to face the object.
Circle
The circle option creates a crowd gathered in a circular pattern. In addition to the standard controls, the radius and thickness of the circular crowd can be changed.
We can also change how full the circle is. For example, we could create a crowd gathered in a half-circle.
Follow Curve
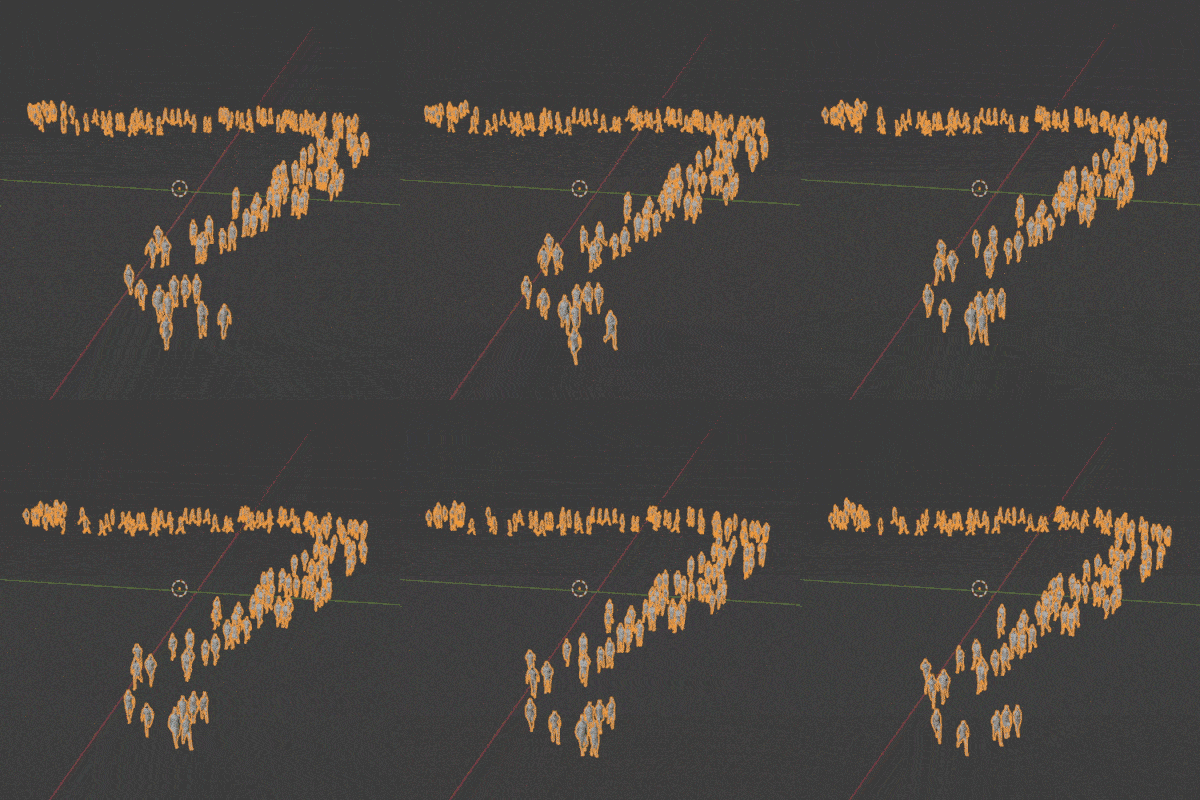
The “Follow Curve” setting is awesome. Add a curve to a scene, select it and add the crowd. The crowd is animated walking along the curve.
We can change the width, count, scale and speed of the crowd. We can again add a point of interest to the crowd. We can invert the direction of the crowd.
When following the curve, people will generate at the beginning of the curve and disappear at the end. This gives an infinite stream of people walking along the path.
I found the speed of the character’s walking does not change in proportion to its movement along the curve. So sometimes feet will slip.
March
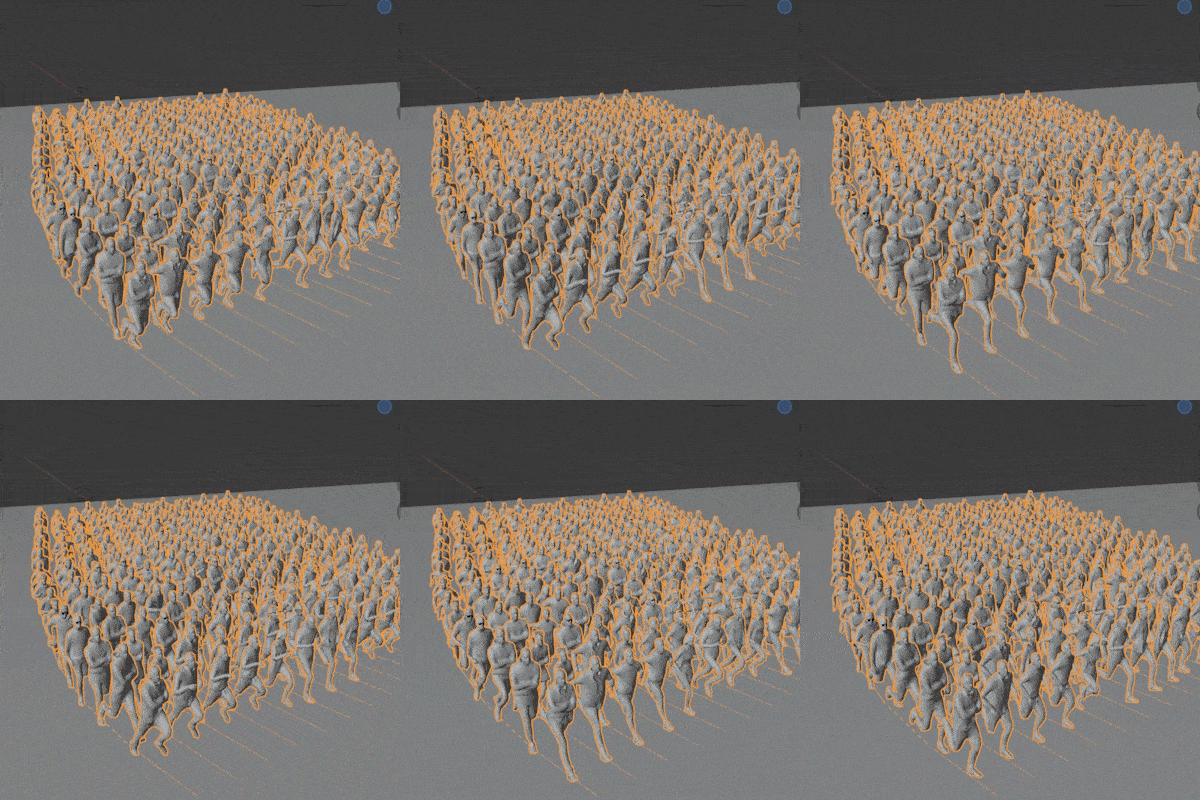
The march option creates a marching crowd that moves along the surface of a ground object. The marching pattern will conform to the geometry of the ground.
We can randomize the position of the marching crowd and toggle between having them walk and run.
We can also change the number of rows or columns of the marchers.
Imagine a crowd of zombies running through a scene!
Random Walk
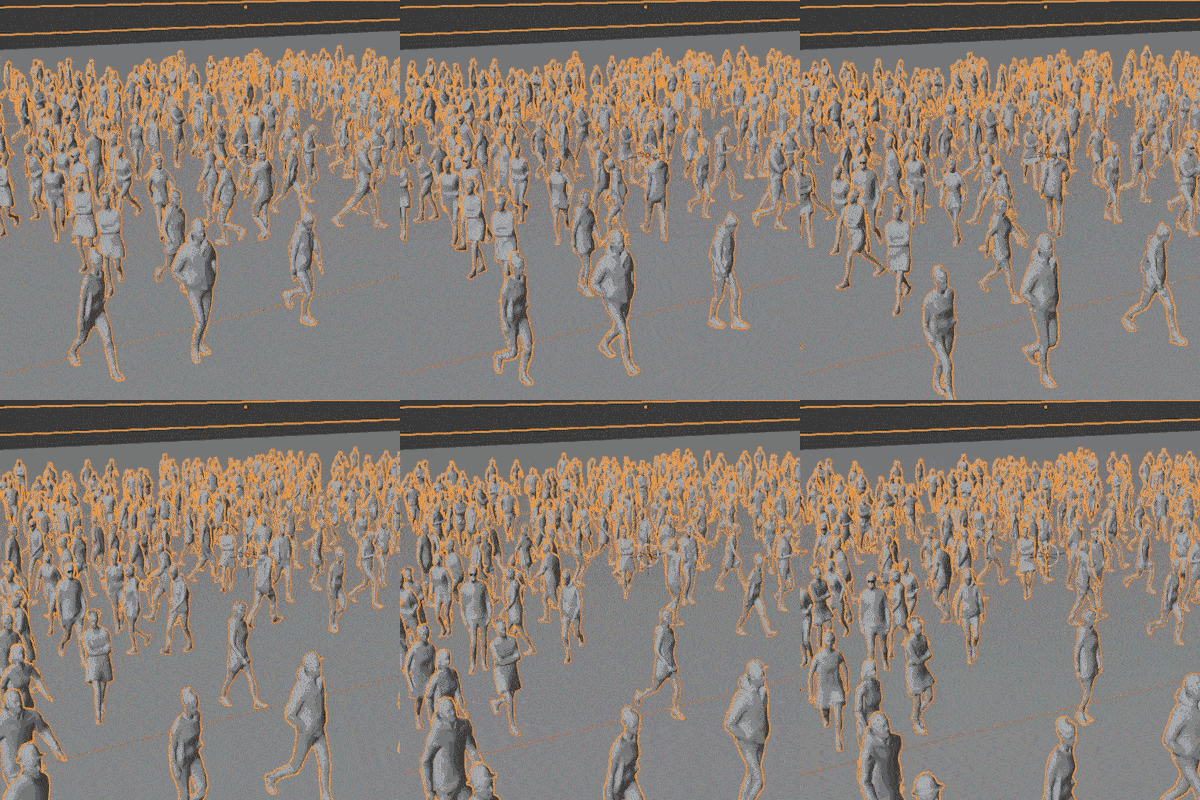
The random walk setting does what it sounds like it does. It places a crowd and has them randomly walk around in an area. This is incredibly useful for animations where we need random people wandering around in the background.
When we add this crowd, the characters drop onto a plane and start randomly walking around.
We can of course set the number of people and other randomizations.
We can add collision objects to the crowd. Select an object and then select the crowd. Press the “Set Collision” button in the controls and the selected object will be a collision object.
When people in the crowd run into a collision object, they will turn and walk in a different direction. It’s pretty entertaining to watch.
Stadium
To use the stadium setting, we first must select a mesh object. When we add the stadium crowd to the object, the crowd will appear to be seated in rows.
We have a lot of the same controls and can procedurally change the size of the stadium as well as the density of the crowd.
Individual Human Characters
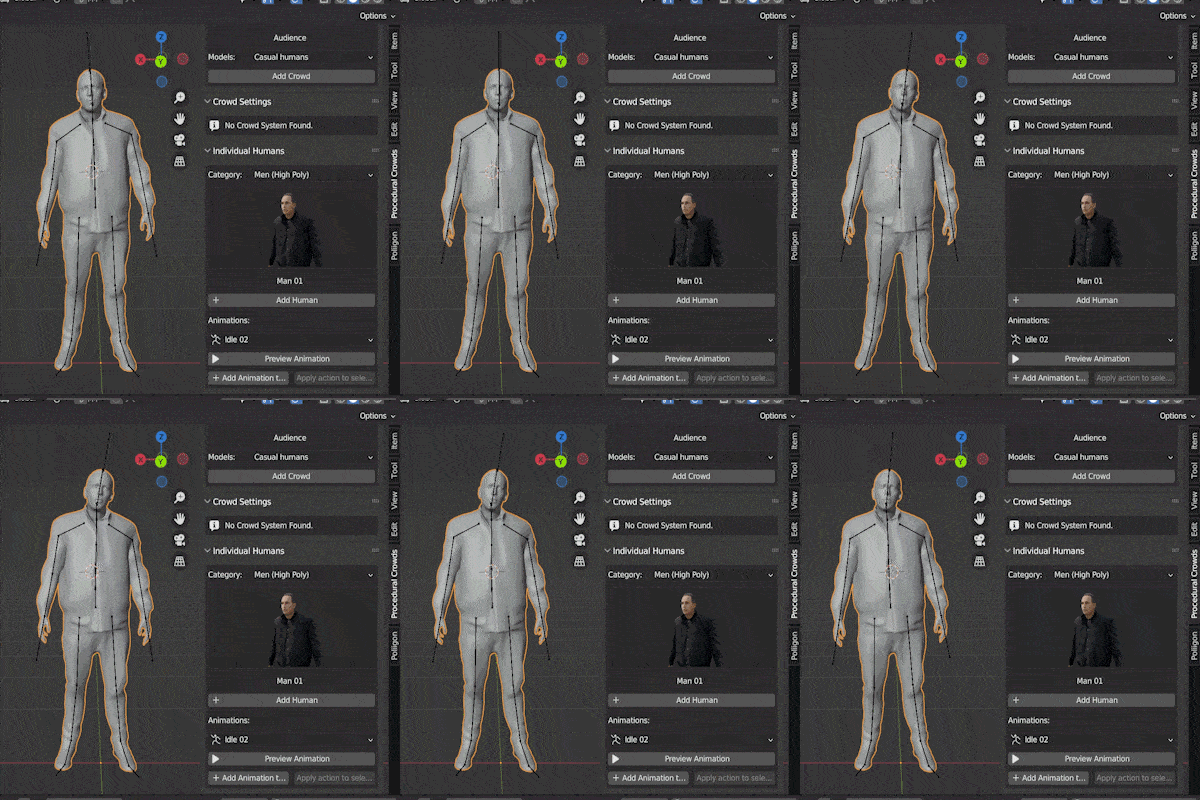
In addition to adding entire crowds, we can manually place and animate characters from the pack of included 3D assets. Below the crowd settings in the Sidebar, we find a panel labeled “Individual Humans.”
An image displays the default human character. Above is a choice for male or female characters in either high poly or low poly. Clicking the image allows us to choose from characters within the selected category.
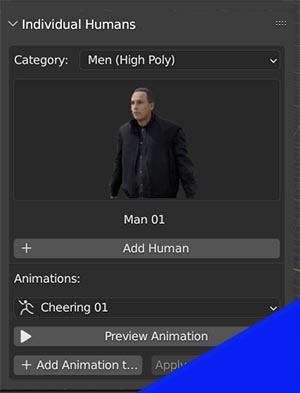
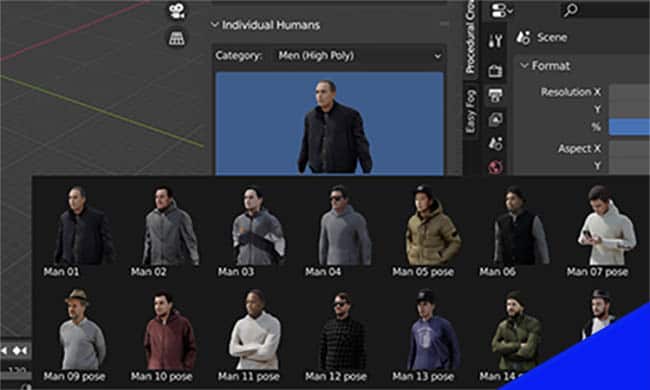
Once we add the individual 3D human model, it enters the scene rigged with an armature. We can choose from several animations which come with the Procedural Crowds add-on.
There is a “Preview Animation” button to view what the animation looks like on a basic model.
Then press “Add Animation” and the animation will be added to the individual character (Do this with the character selected, not the armature).
Animations include variations of idle stances, cheering and walking with or without staring at a cell phone.
Using Custom Assets with Procedural Crowds
If you have your own characters and you want to use them with the Procedural Crowds add-on for Blender, you can.
There are several steps to make sure your 3D characters will work within the Procedural Crowds add-on. Difffuse Studio has a video (below) showing how to use characters from Mixamo with the plug-in.
Conclusion
For the price, this may be one of the best add-ons I’ve ever used. I hope the creator makes additional packs of people to use with it in the future. I’m sure I’ll be using Procedural Crowds a lot in future projects. If you’ve found any of this helpful, please take a look at it using one of the affiliate links on this page. It helps me out a lot at no cost to you!
Take a look around the site and consider joining my newsletter for content round-ups, tutorials and more add-on review like this one. Stay creative!
Get Brandon’s Newsletter
By submitting, you agree to receive periodic e-mails from me. You can unsubscribe at any time.


