What are modifiers in Blender? Modifiers allow us to alter objects non-destructively. This means we can adjust settings and cancel changes without affecting our original mesh. We can add multiple modifiers to a single object.
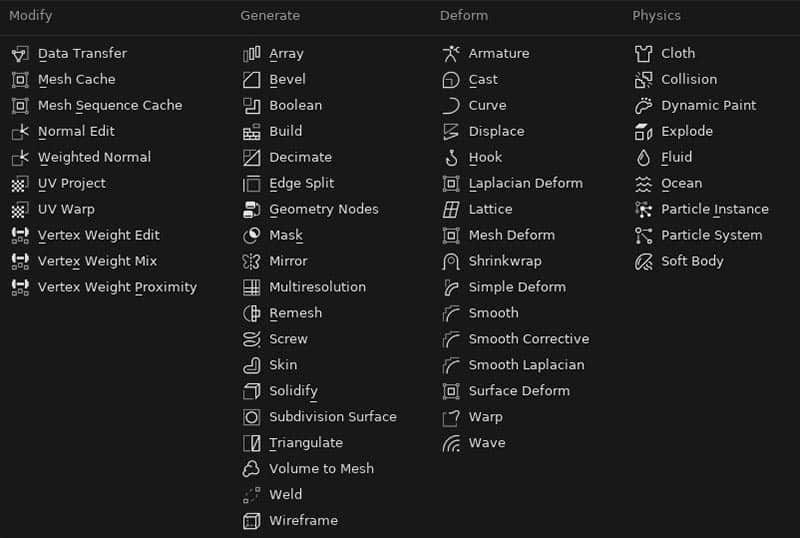
This is an overview of the 54 Blender modifiers currently available in Blender.
This page may contain affiliate links which pay me a commission if used to make a purchase. As an Amazon Associate, I earn from qualifying purchases.
See my related quick tip on how to apply all modifiers at the same time in Blender.
All Modifiers in Blender
Mesh modifiers in Blender are divided into four categories: Modify, Generate, Deform & Physics.
Blender Generate Modifiers
The “Generate” category of modifiers generate geometry or instances in some way. Now we’re getting into the good stuff.
Array Modifier
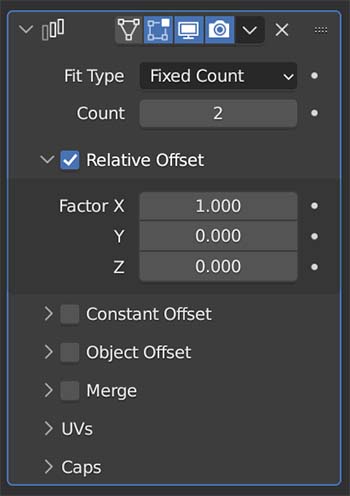
The Array Modifier creates Instances (copies that share data) of the original mesh and aligns them into an array according to how we tell the modifier to do so.
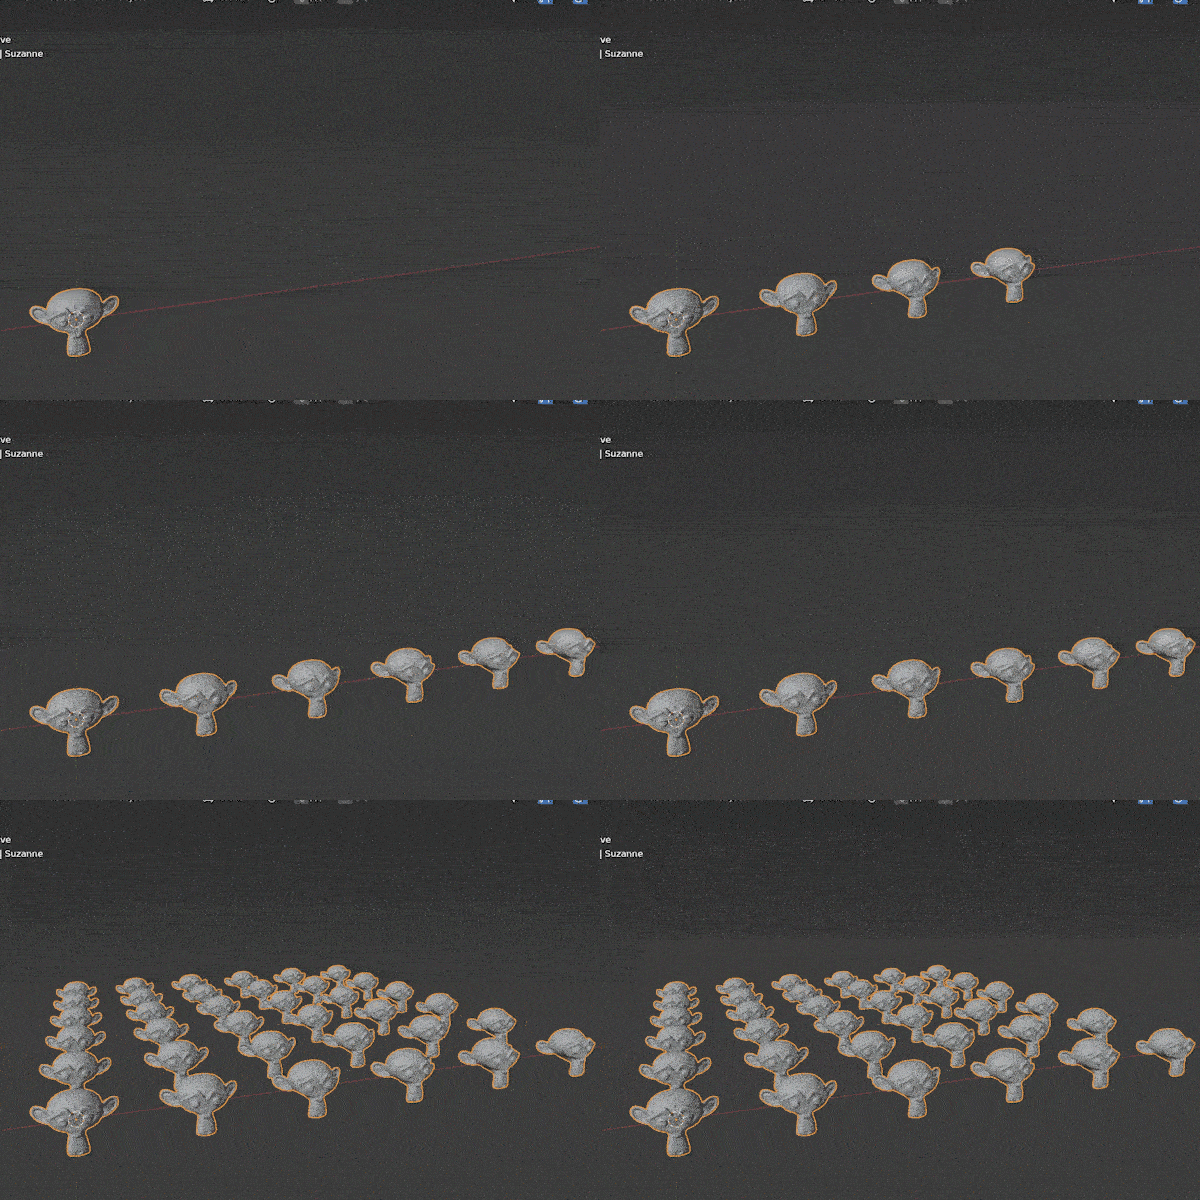
With the modifier added to an object, we can enter the “Count” to tell Blender how many times to copy the mesh. Then, we choose from the offset options:
In the “Caps” section, we can add an object to serve as end caps for the array. An example of when this would be useful is creating a fence. We would need a post to serve as at the end of the array to cap off the fence.
Multiple array modifiers can be stacked on top of each other. In the above image, there is one modifier to array the monkeys across the X-axis and another for the Y-axis.
Here’s an in-depth guide to using the Blender array modifier.
Bevel Modifier
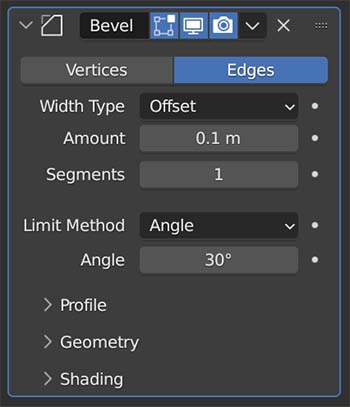
The Bevel Modifier adds a procedural bevel to an object to get rid of the perfectly squared edges. It does this non-destructively.
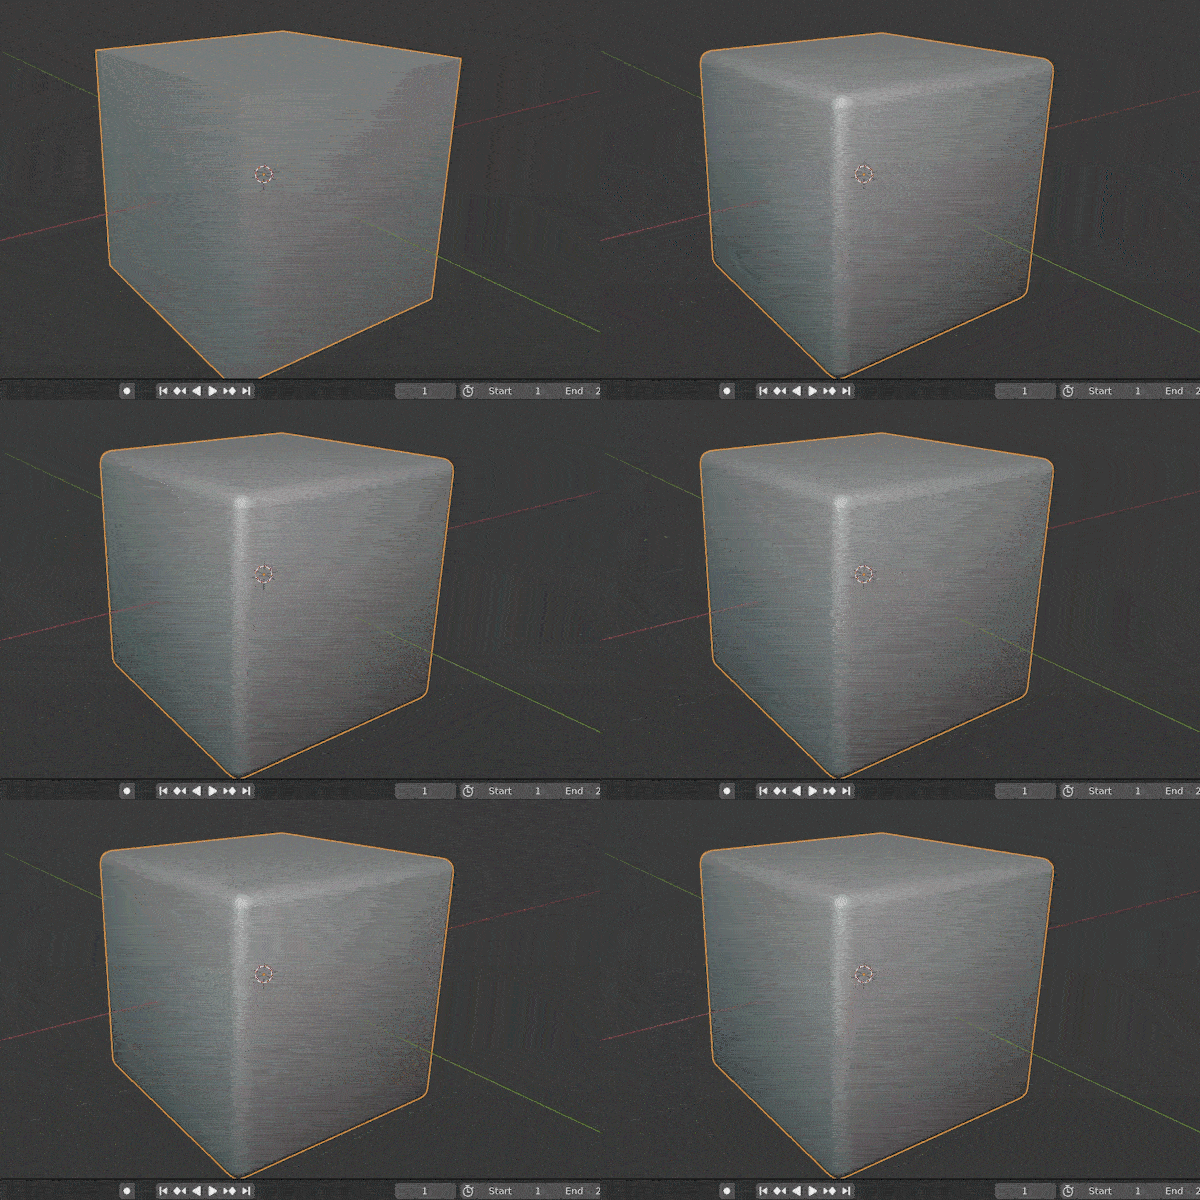
There are two ways to bevel an object: Vertices and Edges.
Important settings will be the amount of the bevel’s effect, the number of segments to us (higher will be smoother) and the limit method.
Custom bevel profiles can be used on the modifier’s bevels to give them interesting edge shapes (think crown molding).
Here’s an article all about beveling in Blender (with or without this modifier).
Boolean Modifier
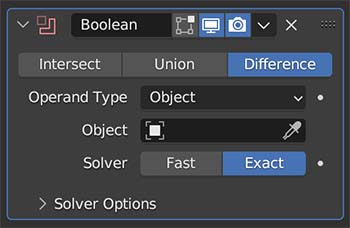
The Boolean Modifier takes the mesh from a target object and combines it with the modified object. There are three operations for how it does this:
The Boolean Modifier is a shortcut to model faster. A lot of Add-ons make use of it.
We need to select the operator type and then choose the object or collection we want to be the target for the operation. If you run into problems with it, try recalculating the Normals on both objects.
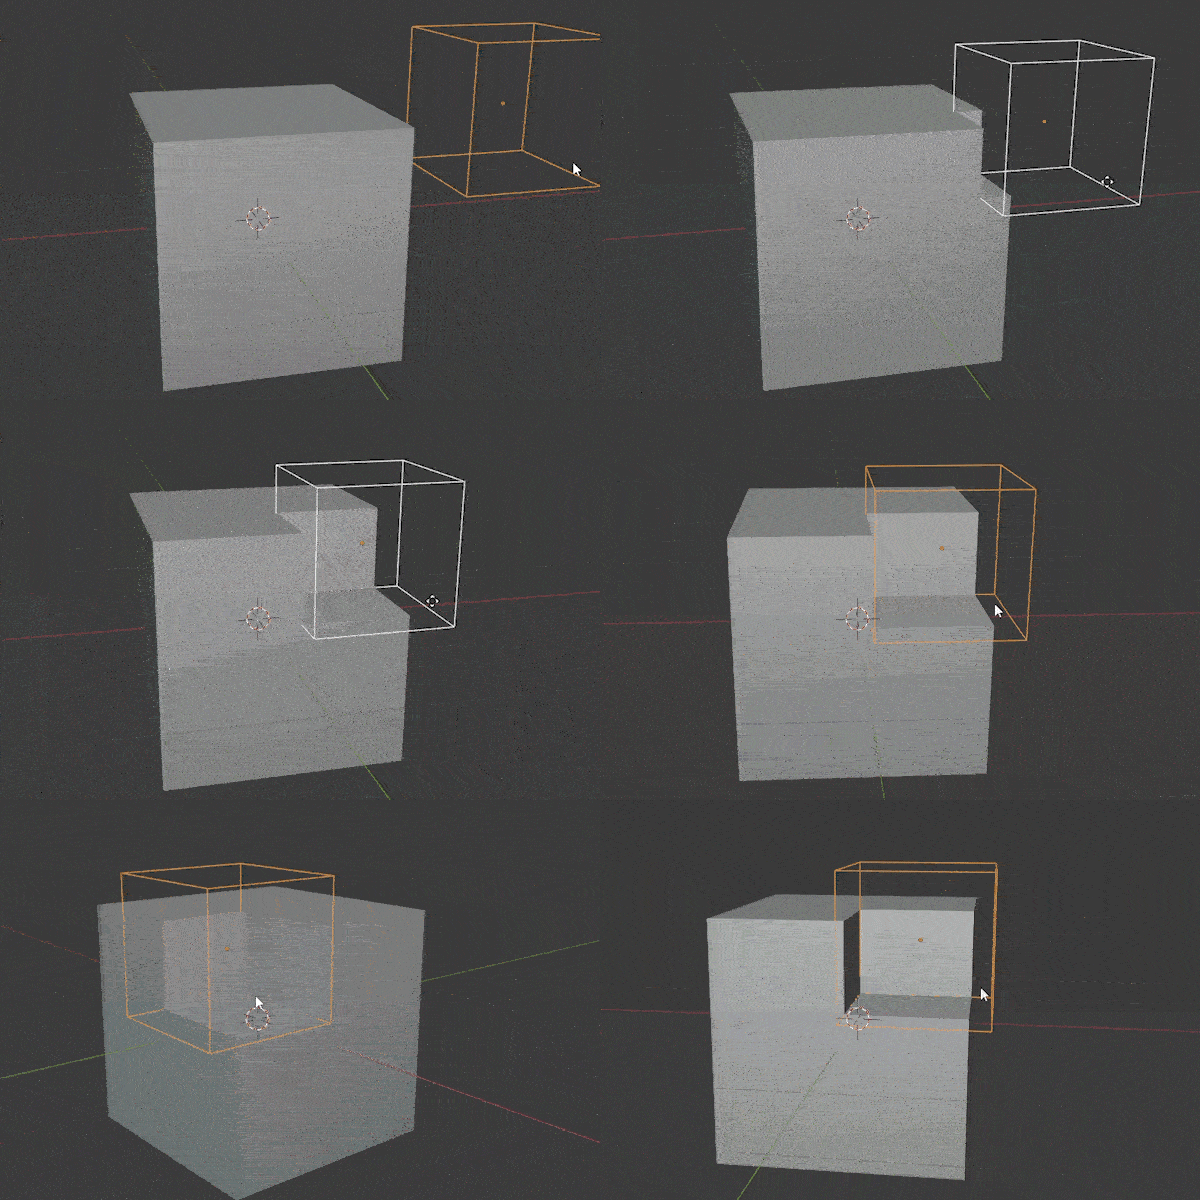
Build Modifier
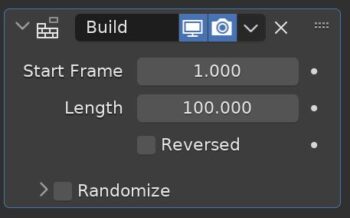
The Build Modifier animates the construction or deconstruction mesh based on the “Sort Order” of the faces.
Start Frame is where the animation begins and Length is how many frames it builds over. Checking reversed will reverse the animation to deconstruct the object.
The order in which the build modifier constructs or deconstructs an object can be adjusting the “Sort Order” in the mesh menu while in edit mode.
Here’s a full guide on the Build Modifier or see the video below.
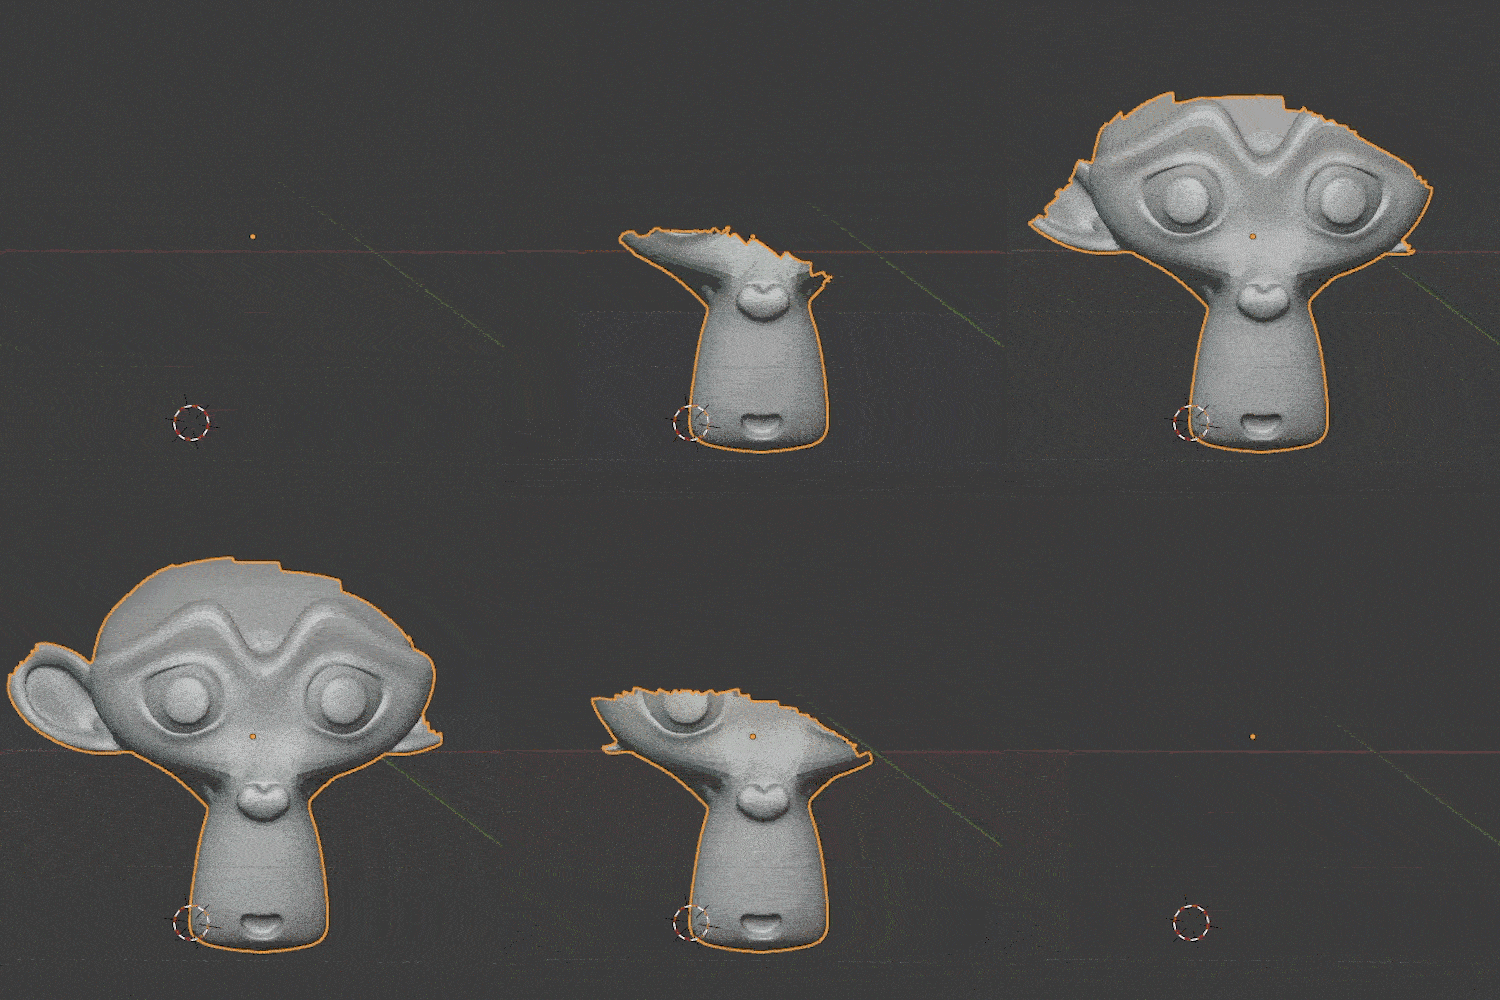
Decimate Modifier
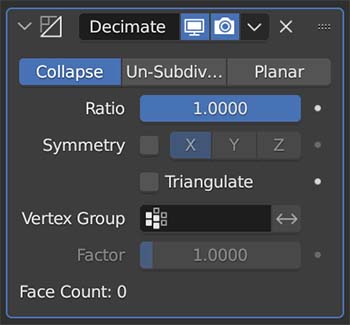
The Decimate Modifier takes a high-poly object and reduces the mesh to fewer polygons while maintaining the shape of the object as best as possible.
Place it on an object and then reduce the ratio. A ration of 1 will reduce zero faces. A ratio of 0 will get rid of all the faces.
With dense models (like photoscanned models) this can be turned to a surprisingly low number and still keep the object’s shape.
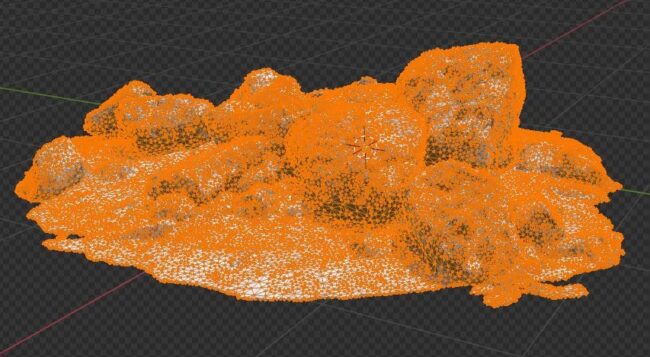
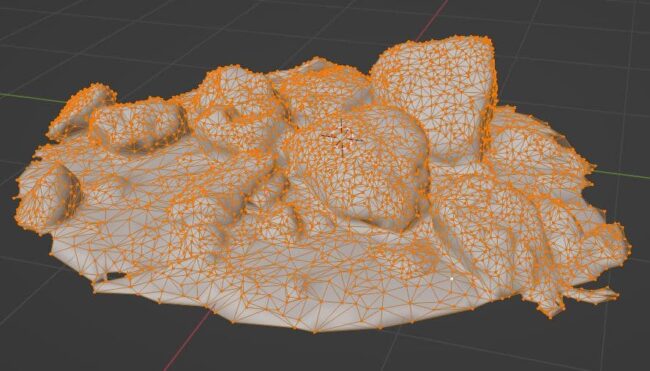
I have a full page on how to use the Decimate modifier in Blender.
Edge Split Modifier
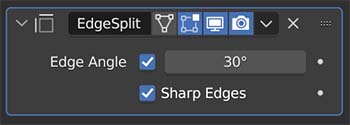
The Edge Split Modifier splits the edges of a mesh apart from each other based on a specified angle. A cube with an applied edge split modifier will turn into six unattached faces.
Faces that come together at an angle smaller than what is specified in the “Edge Angle” will remain connected.
Geometry Nodes Modifier
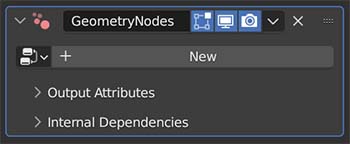
Geometry Nodes are an entire area of Blender where geometry can be created, adjusted and manipulated using nodes.
Although the controls are found in the Geometry Node Editor, they are applied as a modifier. When we add geometry nodes to an object, this modifier will be added to the object.
Mask Modifier
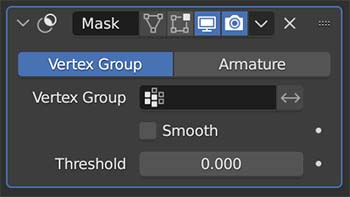
The Mask Modifier hides a portion of a mesh based on either vertex groups or an object’s armature. Apply it to an object and then choose the vertex group you want masked out of view.
We can set a weight threshold (which can be animated) to hide or display vertices based on their weight.
We can switch from “Vertex Group” to “Armature” if our object has an armature. In pose mode, only portions of the mesh connected to the currently selected bone will be displayed.
This can be useful for knowing what part of a mesh is connected to which bone and for isolating that part of the mesh.
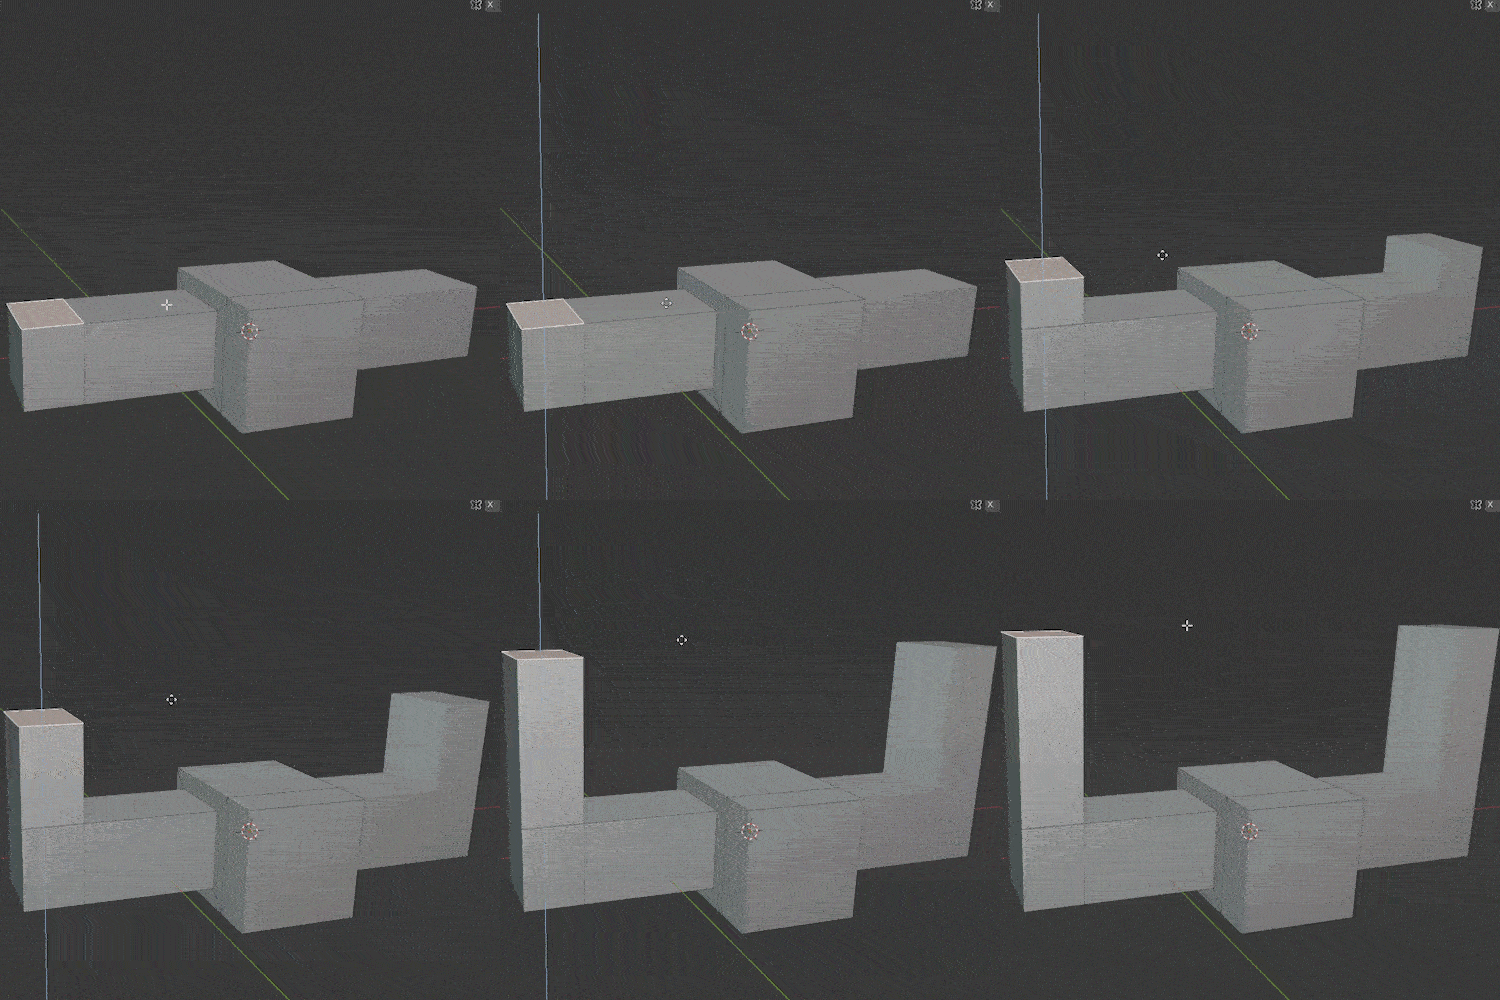
Mirror Modifier
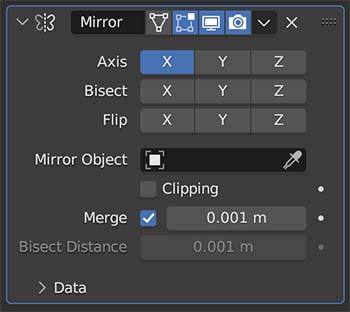
The Mirror Modifier mirrors an object across either a selected axis or based on the location of another object.
A lot of things we model are symmetrical and we can be more precise and save time by procedurally mirroring the sides of the object.
The object is mirrored based on its origin point and most frustrations with this addon are caused by having the origin point in the wrong place when we add the modifier.
We can choose to bisect the mesh. This means that if there is geometry on each side of the origin point, the modifier will cut off one side.
Clipping prevents vertices from moving across the center point.
We can merge vertices that are close together near the mirror axis by setting a merge threshold.
Multiresolution Modifier
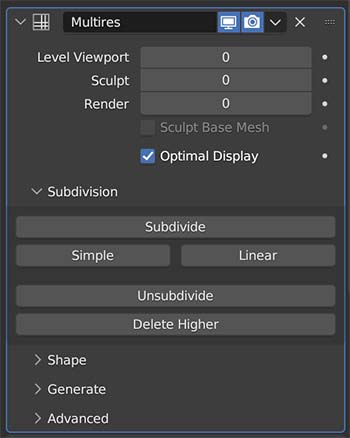
The Multiresolution Modifier (or “Multires” for short) allows us to subdivide a mesh non-destructively but also to sculpt the subdivided mesh.
We can add a lot of detail in sculpt mode without adding to the base geometry in the viewport. It is an alternative to Dyntopo and to the remesh function.
We individually select subdivision levels for the viewport, sculpt mode and for the final render, allowing us to maintain viewport responsiveness but having the extra detail when we need it.
Remesh Modifier
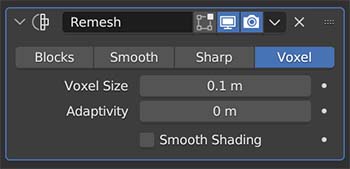
The Remesh Modifier reconstructs the mesh of an object. It is a fast way to achieve retopology for a mesh which lacks “clean geometry.”
There are four methods for remeshing an object’s geometry with the modifier:
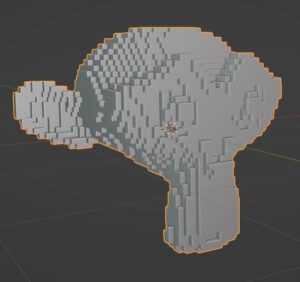
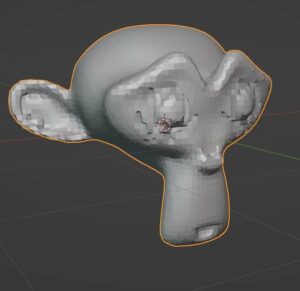
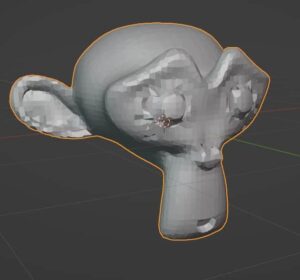
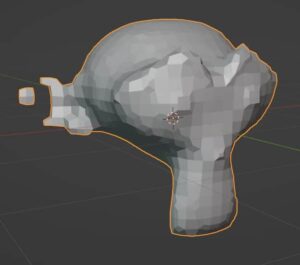
Octree Depth and Scale are two settings which will appear for most options. Octre Depth affects the resolution of the final mesh. Higher Octree Depth settings will be more dense and detailed. Scale is similar in that it affects the size of the faces of the new mesh.
Screw Modifier
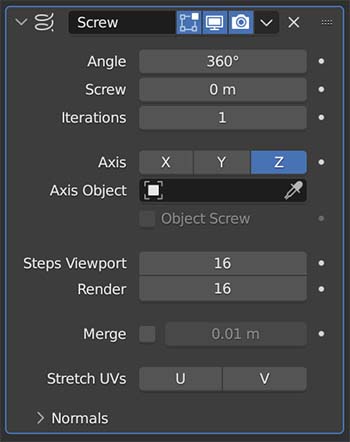
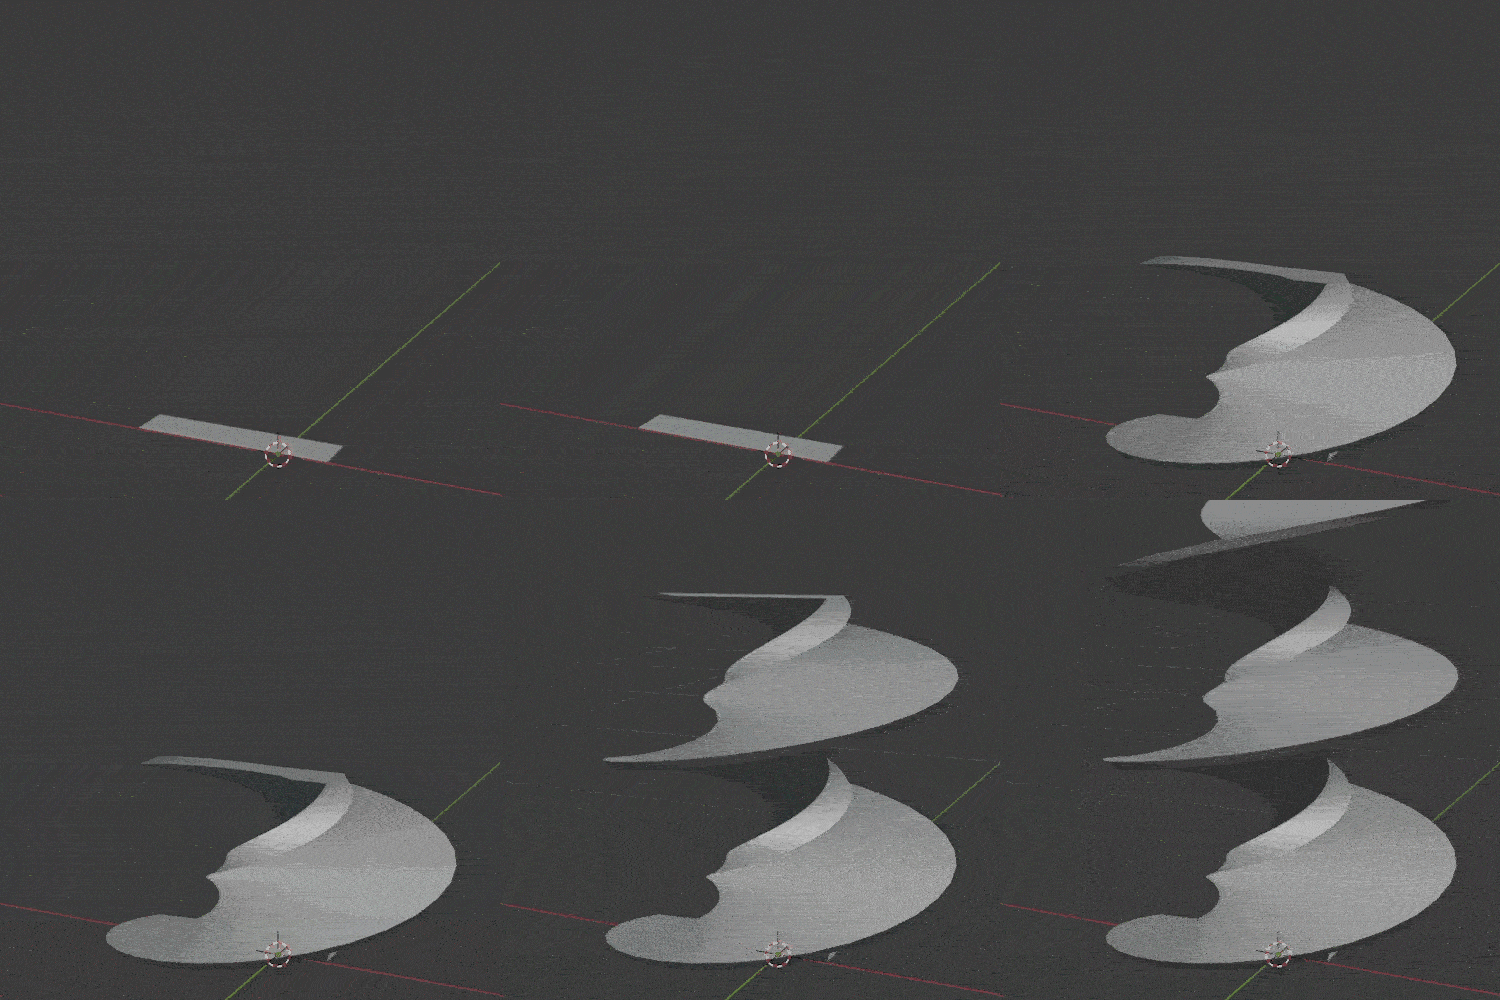
The Screw Modifier takes the profile of an object and creates a helix-like spiral out of it. It is useful for screws, springs and similar twisted objects.
Skin Modifier
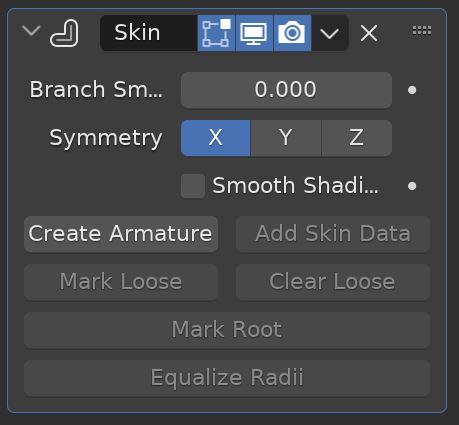
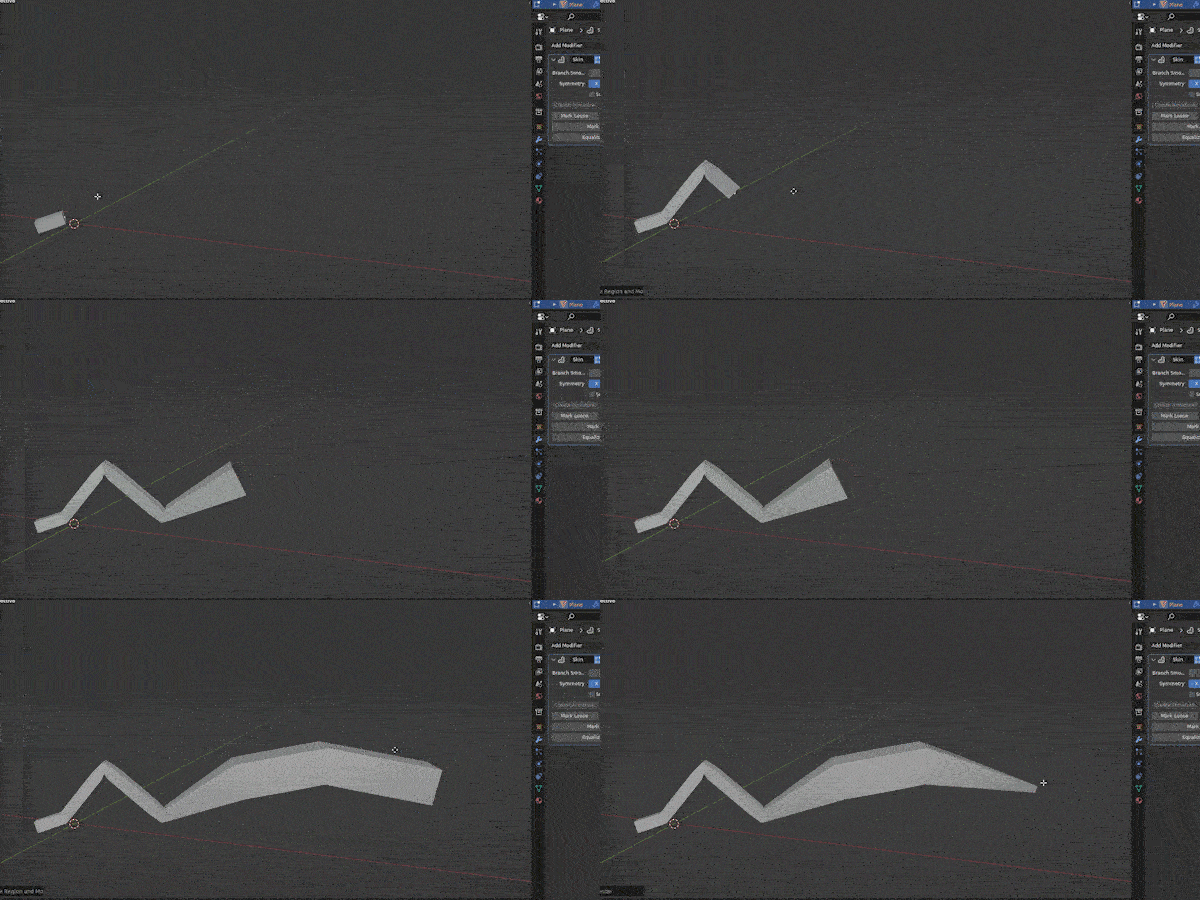
The Skin Modifier creates a skin-like surface surrounding vertices and edges of a mesh. The weight / scale of the skin at each vertex can be controlled by pressing “Control + A” and scaling the skin around the vertex.
The modifier can automatically add an armature to any shape it’s applied to. The modifier can be used to make interesting shapes or to create the base mesh of a character or creature to sculpt later.
Solidify Modifier
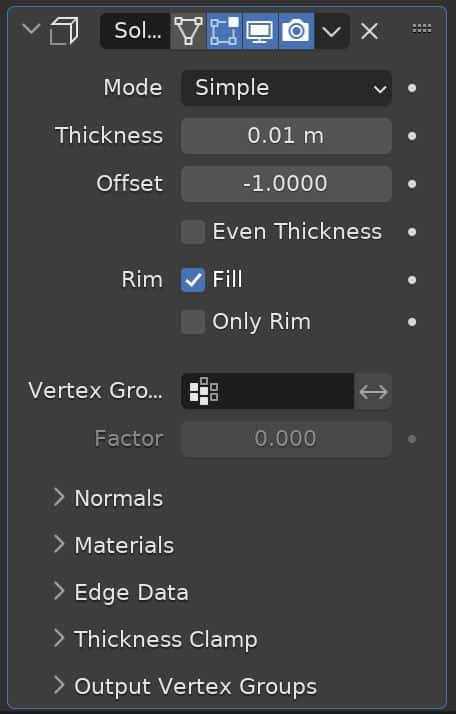
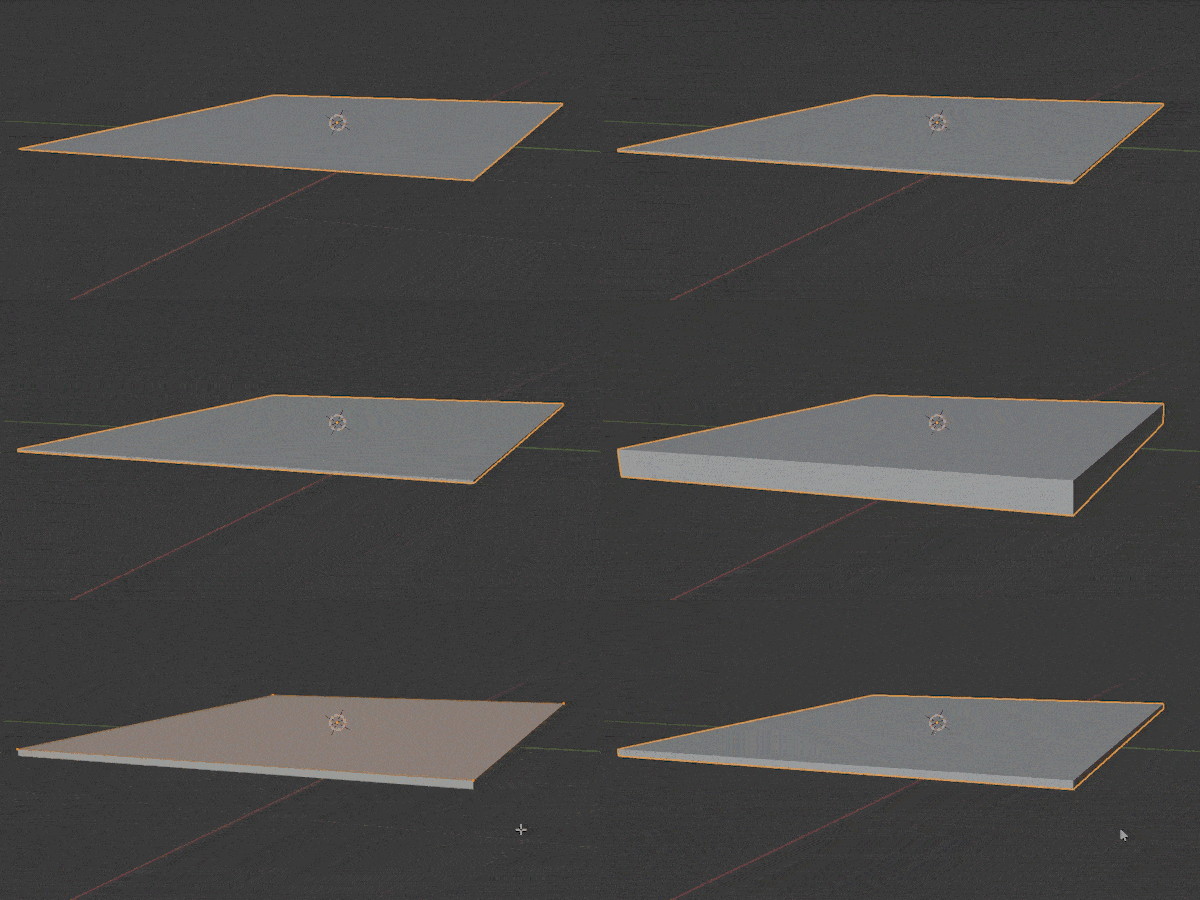
The Solidify Modifier adds thickness to flat surfaces. In reality, no surface has a thickness of zero. The “Thickness” setting adjusts how thick the surface will be. We can choose to offset the thickness and we can choose to make the thickness even.
Fill options allow us to fill the gaps between the inner and outer edges of the surface.
Subdivision Surface Modifier
The Subdivision Surface Modifier (often called a “SubSurf Modifier”) may be the most widely used modifier in Blender.
It is used to split the faces of a mesh into smaller faces to give it a smoother appearance.
The modifier adds geometry in a way that is not saved as object data and therefore does not slow performance in the 3D Viewport as much.
The geometry created by the subdivision surface modifier can not be edited until the modifier is applied.
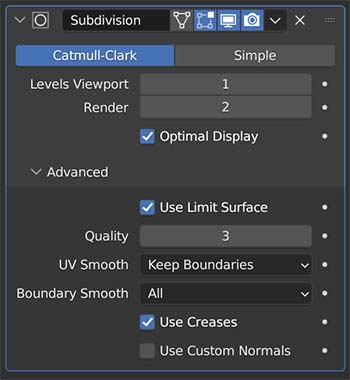
There are two ways which the subdivision surface modifier can operate.
We can choose separate levels of subdivision for the viewport and the final render. Generally, we will want to work with a lower level in the viewport but raise it for the final render.
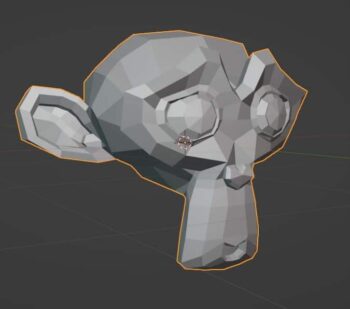
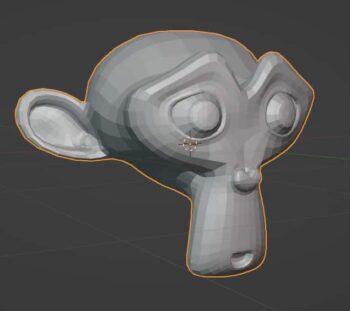
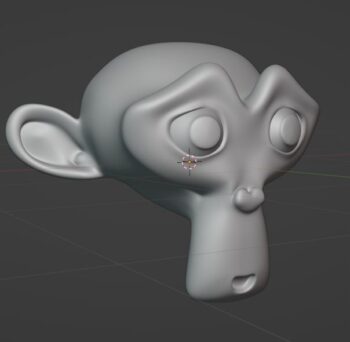
Triangulate Modifier
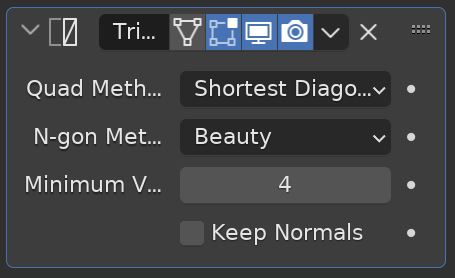
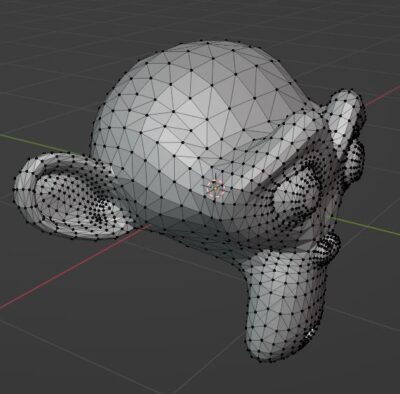
The Triangulate Modifier converts all surfaces in a mesh to triangles. It will affect both quads and N-gons. This is used to change the entire topology to triangles.
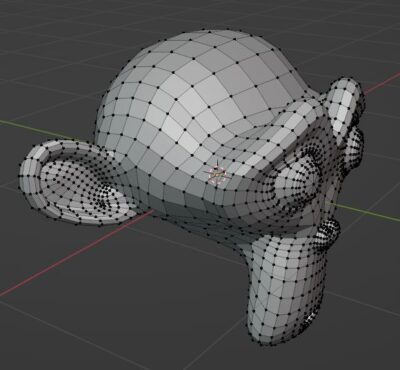
Volume to Mesh Modifier
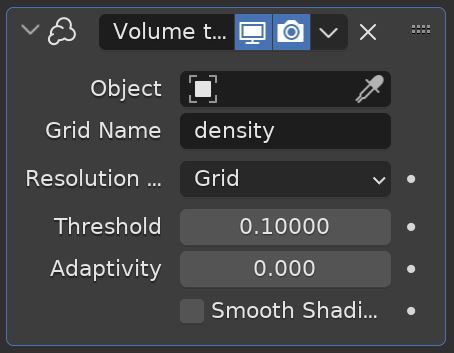
The Volume to Mesh Modifier converts a volume object (this is a specific type of object in Blender) to a mesh. It is the opposite of the Mesh to Volume function.
Weld Modifier
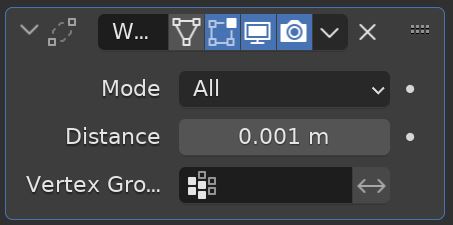
The Weld Modifier merges vertices that are within a certain distance from each other. Increasing the distance will merge more vertices. Unlike the Merge by Distance function, this can be done non-destructively (so it can be un-done).
Wireframe Modifier
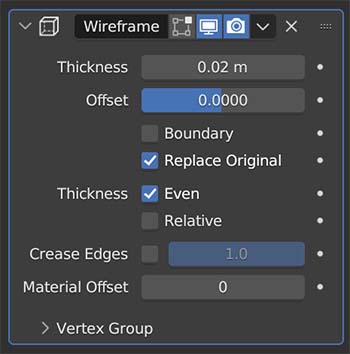
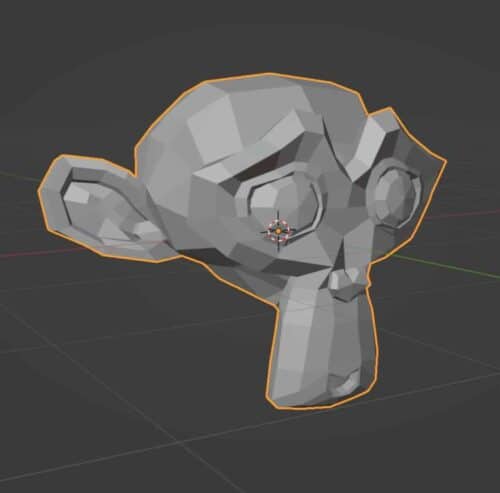
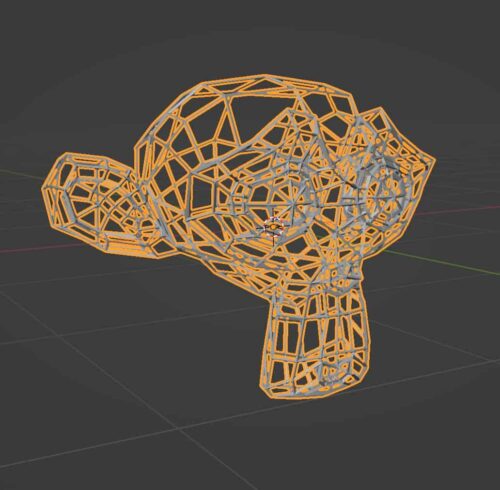
The Wireframe Modifier turns the object’s mesh into a wireframe. Every edge of the mesh will become a wire in the wireframe.
We can give the wireframe thickness and control other settings non-destructively with the modifier.
Here’s my full tutorial on using the wireframe modifier settings.
Blender Deform Modifiers
Armature Modifier
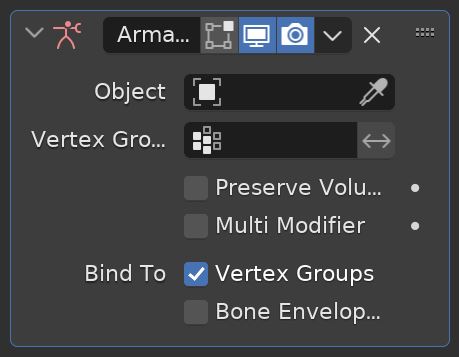
The Armature Modifier is for adding a skeletal armature to an object. Although the armature is a modifier, most of the settings to control the armature will appear in the Armature Properties Panel when an armature is added.
This is used mostly for character animation.
Cast Modifier
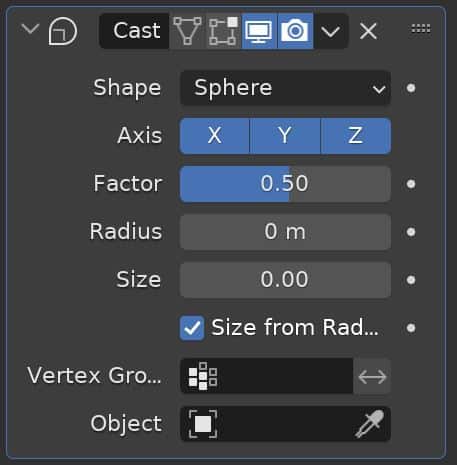
The Cast Modifier shifts or pulls the shape of a mesh, curve or other object toward a shape that is created by the modifier.
This can be used to animate the deformation of a mesh in some creative ways.
Curve Modifier
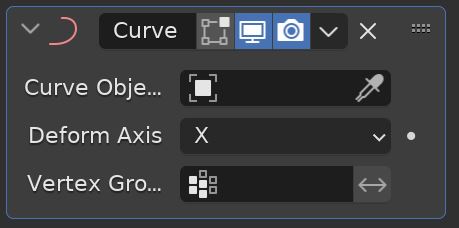
The Curve Modifier deforms a mesh object along a curve. While this sounds simple, the deformation occurs along an axis in a less-than-intuitive way.
When we set up the deformation axis settings, we can move the object along the path of the curve and animate this movement.
The object will require enough geometry to bend along the curvature of the curve object.
Displace Modifier
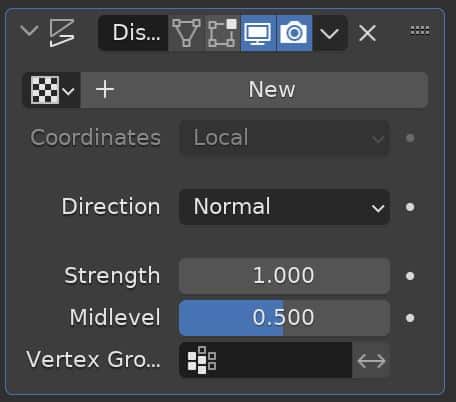
The Displace Modifier displaces (changes) the shape of the object in a pattern. The pattern can either be procedural or can be from an image texture.
The displace modifier is used to add detail and bump to the surface of a mesh. It’s the most realistic way to do so as it physically displaces the mesh. However, it requires adequate geometry to function and is not as efficient as using a Bump Map or Normal Map.
Hook Modifier
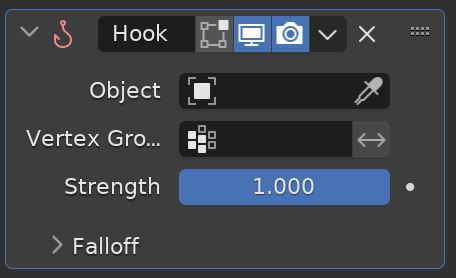
The Hook Modifier deforms a mesh using another object. It is a method of animating Proportional Editing similar to the way that Shape Keys do.
We select a vertex group on the object that is to be deformed and then choose an object to be the target. When the target object is moved, it will proportionally pull the vertices assigned to the vertex group with it.
Laplacian Deform Modifier
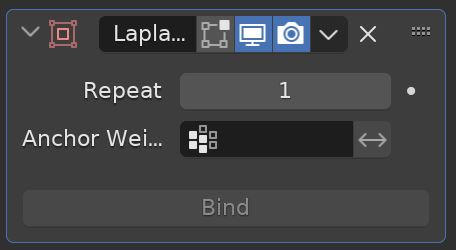
The Laplacian Deform Modifier lets us pose an object while preserving surface details. See the Blender Manual for more about the Laplacian Deform Modifier.
Lattice Modifier
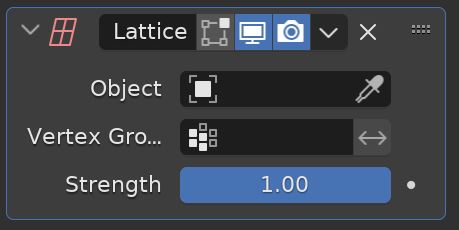
The Lattice Modifier uses a Lattice Object to deform the assigned object’s mesh. Adjusting vertices of the lattice object will deform the assigned mesh.
Mesh Deform Modifier
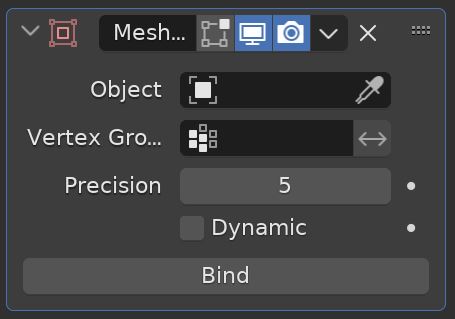
The Mesh Deform Modifier allows any closed mesh object to deform the assigned object. We can restrict the deformation to a specific vertex group and can adjust the precision of the modifier’s effects.
Shrinkwrap Modifier
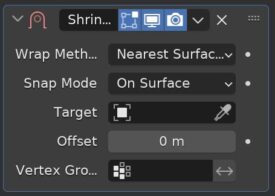
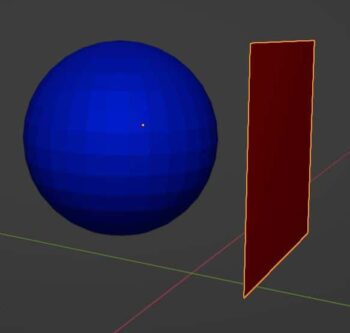
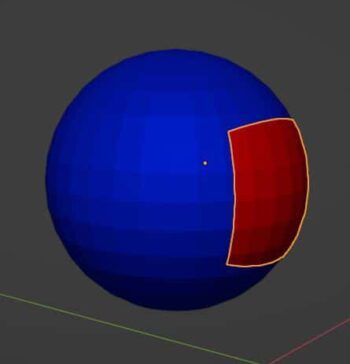
The Shrinkwrap Modifier projects (or wraps) the mesh of the assigned object around the mesh of a target object.
A variety of wrap methods and snap modes can be set to adjust how the shrinkwrap modifier functions. An offset can be added to put distance between the wrapped object and the target object.
This is a method (although often not the best) to apply decals to objects by projecting the mesh of an image object onto another object.
Simple Deform Modifier
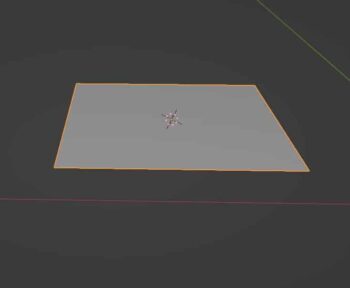
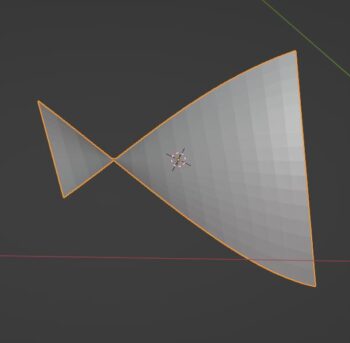
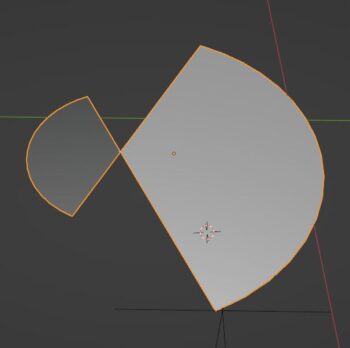
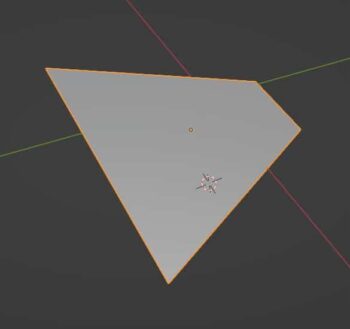
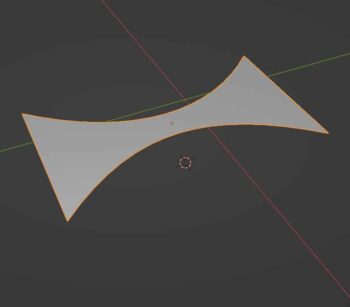
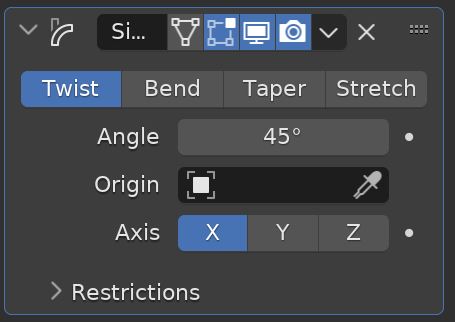
The Simple Deform Modifier gives us four simple options to deform a mesh according to inputs from the modifier.
Smooth Modifier
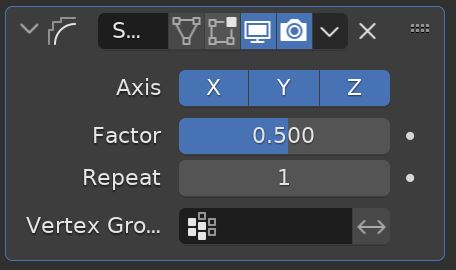
The Smooth Modifier smooths a mesh by flattening the angles between adjacent faces. No subdivision is added to the mesh.
We can smooth along any or all axes and control how much smoothing occurs with the factor setting.
Increasing the repeat setting increases how many times the smoothing action is repeated (iterations).
Smooth Corrective Modifier
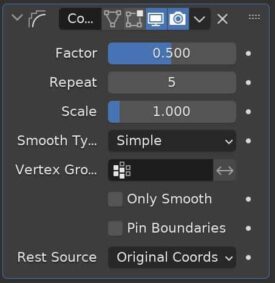
The Smooth Corrective Modifier corrects distorted parts of a mesh by smoothing them.
According to the Blender Manual, this is useful after using an Armature Modifier which can cause deformations.
Smooth Laplacian Modifier
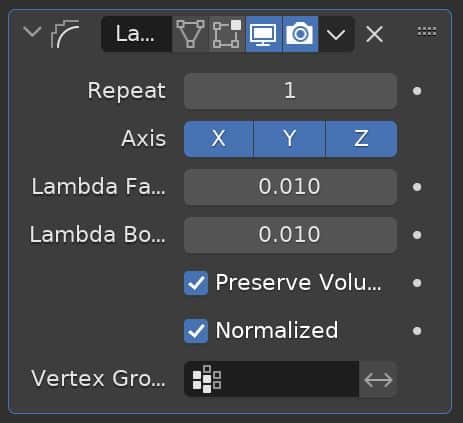
The Smooth Laplacian Modifier reduces noise on the surface of a mesh with minimal impact to the object’s shape.
If the Lambda Factor is negative, it will exaggerate the object’s shape.
Surface Deform Modifier
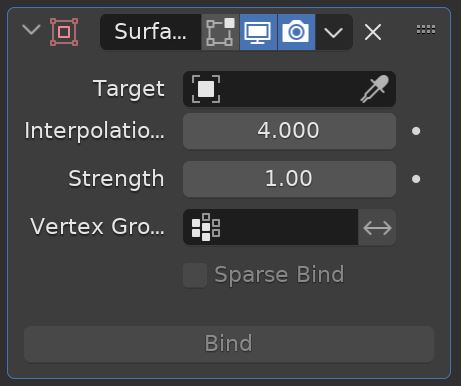
The Surface Deform Modifier lets a surface control the deformation of another object. It has uses in cloth simulations.
Warp Modifier
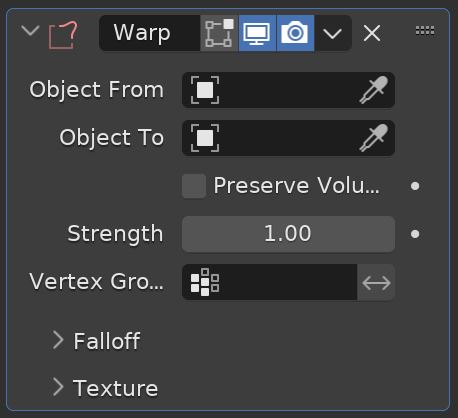
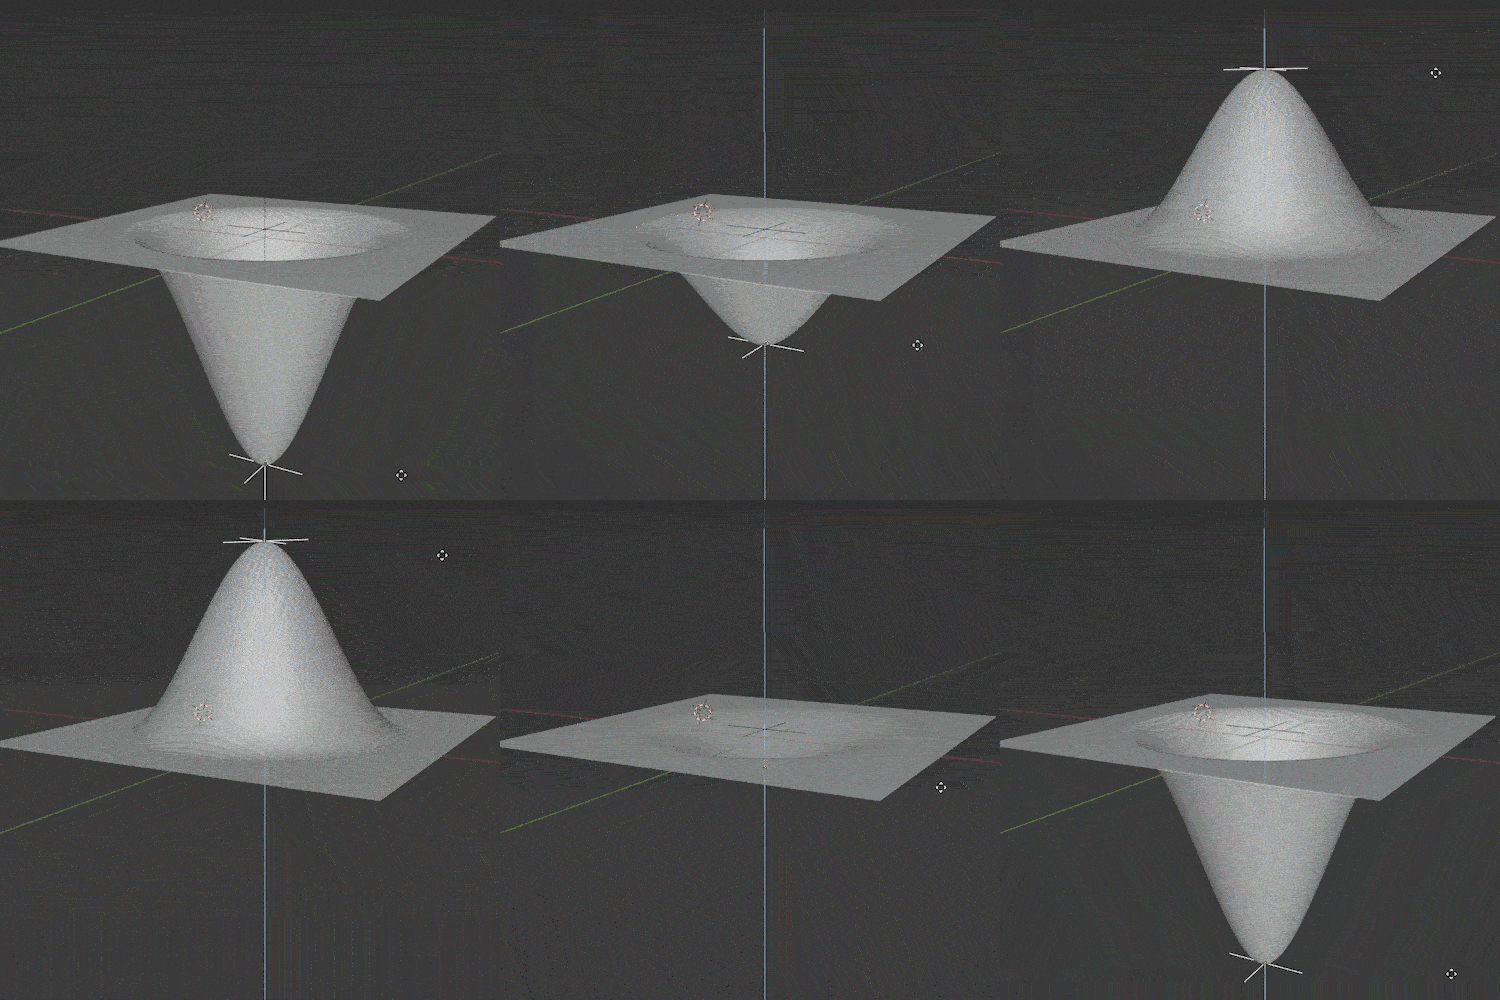
Blender’s Warp Modifier warps parts of a mesh to a new location by using two objects as “from” and “to” points. Select the two objects to be used as “from” and “to” (usually Empty Objects).
We can adjust the strength and falloff of the effect with settings in the modifier’s controls.
Wave Modifier
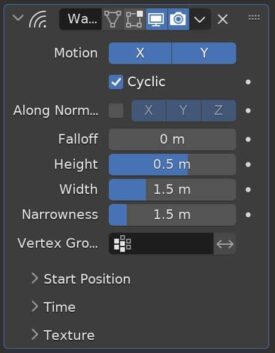
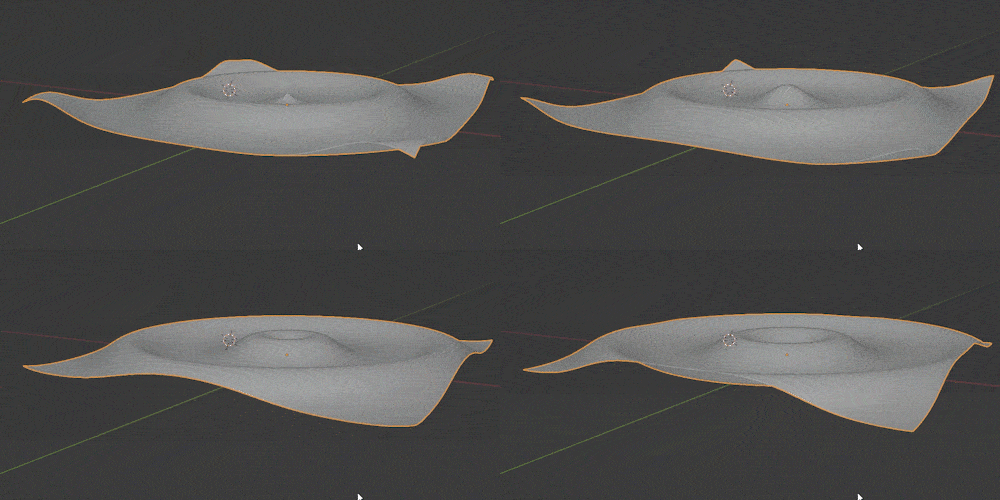
The Wave Modifier adds ripples (or “waves”) to an object. It’s a quick and easy way to add animated motion to an object.
There are several settings to adjust the falloff, strength and shape of the ripple effect. It can be limited to only affect a specific vertex group and the timing and speed of the wave can be adjusted.
One of the tips I covered in my 50 Blender Tips Video was on the wave modifier.
Blender Modify Modifiers
These are probably the least used modifiers in the menu. As the name suggests, they modify the data of a mesh (which they really all do if we’re being technical.)
Data Transfer Modifier
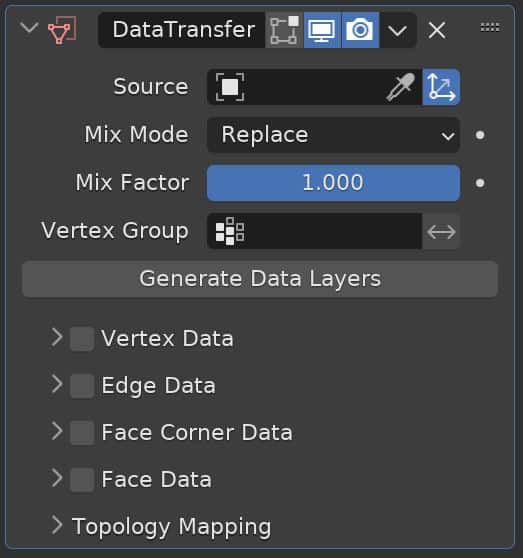
The Data Transfer Modifier allows us to transfer data from one mesh to another. The data that can be transferred include vertex groups, UV maps, color attributes, normal maps and more.
To use it, we choose a source object from which to take the data, decide which types of data we want to use and then we have some options for how the data is mixed and transferred.
Mesh Cache Modifier
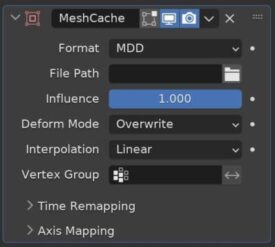
The Mesh Cache Modifier is used to apply animated mesh data to a mesh.
This has a similar effect as Shape Keys but it can be used with external data. It may be helpful when converting animations between applications.
Mesh Sequence Cache
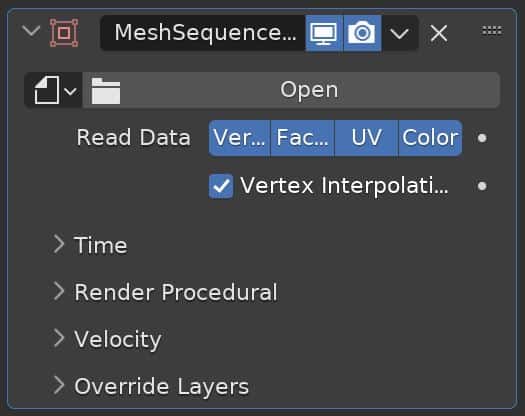
The Mesh Sequence Cache Modifier is used bring in data from Alembic and USD files. Like the Mesh Cache Modifier, it is often used to bring in animation data from other 3D programs.
The modifier can also be used on static objects and curves. It is loaded automatically for certain Alembic or USD files.
Normal Edit
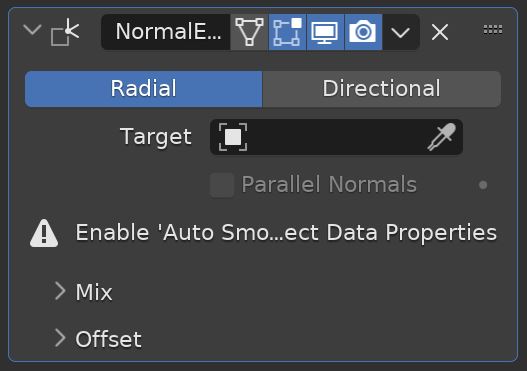
The Normal Edit Modifier can be used to generate custom Normals for an object. Auto Smooth must be activated for this to function.
The normals can be edited radially or directionally. With radial, the normals will emit from a central point. With directional, they will all point in the dame direction. A target object can be used to have the normals point toward.
Weighted Normal
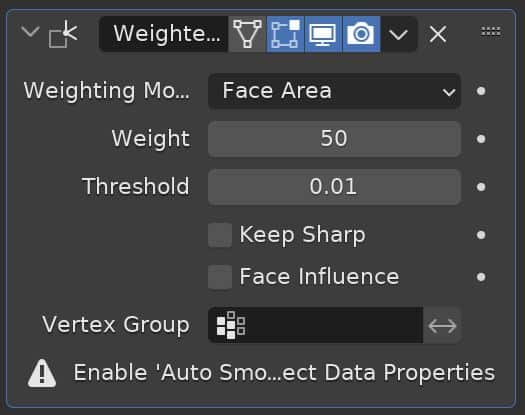
Another modifier to affect normals is the Weighted Normal Modifier. This requires Auto Smooth to be enabled. The modifier will allow us to keep certain faces smoother than others.
UV Project
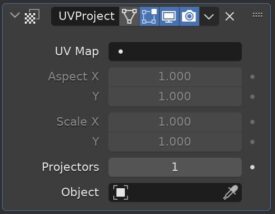
The UV Project Modifier allows us to project UVs dynamically from one object onto the object which is using the modifier.
The UVs would project similar to how light would project from the projector object. We can choose multiple projector objects and select them manually.
UV Warp
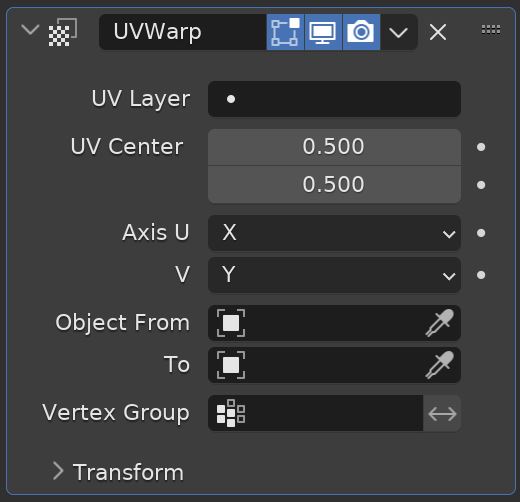
The UV Warp Modifier can give us direct control over our UVs from within the 3D Viewport. We can apply multiple UV Warp modifiers to affect different UV layers.
The modifying of the UVs can be done by entering values or using a control object or even a bone.
Vertex Weight Edit
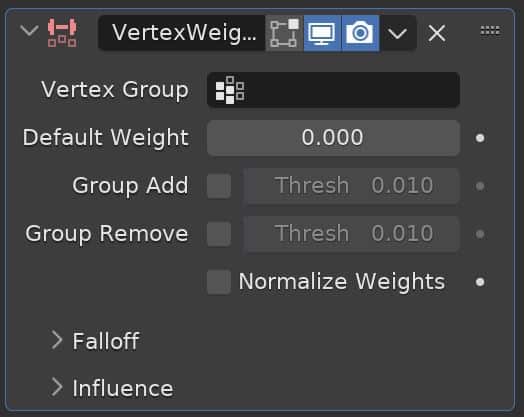
The Vertex Weight Edit Modifier lets us edit the weights of a vertex group.
We first need to choose a vertex group. Then we can apply mapping using predefined curves or create a custom one.
Vertex Weight Mix
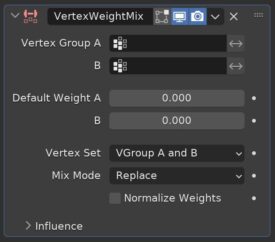
The Vertex Weight Mix Modifier combines two vertex groups together and assigns weights to the two groups.
There are several ways to choose which vertices are affected and how.
Vertex Weight Proximity
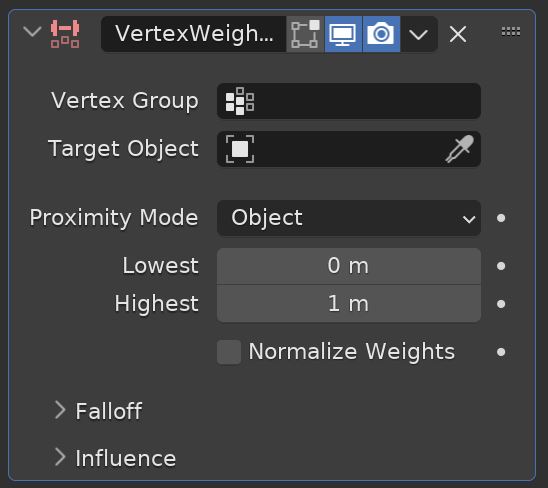
The Vertex Weight Proximity Modifier sets weights of a vertex group based on the distance from another target object.
To use it, select a vertex group to be affected and then choose a target object. We can then choose the highest and lowest values we want. There are falloff and influence options as well.
Blender Physics Modifiers
Many of the modifiers in the physics category of Blender’s modifier menu are actually controlled through the Physics Properties Panel. But, they do technically add non-destructive modifiers in the Modifier Stack.
Here’s a quick explanation for each one, but they are generally covered in Blender physics tutorials.
Cloth Modifier

Whenever we add a Cloth Simulation to an object in Blender, a Cloth Modifier is added to the object. There are no controls for this as they cloth settings are found in the Physics Properties Panel.
Collision Modifier

When an object is set to have collision properties, a Collision Modifier is added to the modifier stack. The settings for the collision modifier are found in the Physics Properties Panel.
Dynamic Paint Modifier
Dynamic Paint is a tool to animate the painting of an object. For it to function, a Dynamic Paint Modifier must be added in the object’s modifier stack.
Explode Modifier
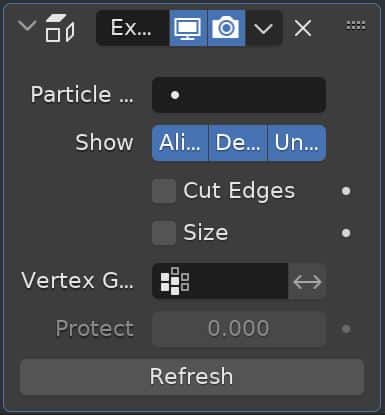
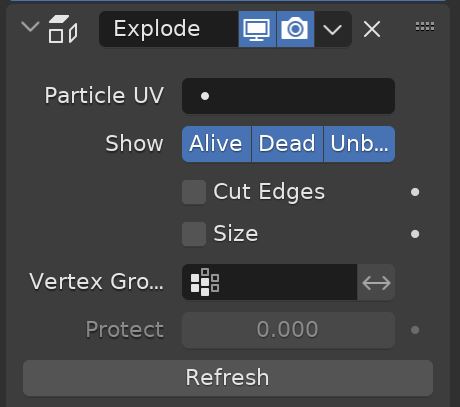
The Explode Modifier breaks an object into pieces and pushes them outward, roughly simulating the explosion of the object.
Fluid Modifier

When Fluid Simulations are applied to an object, a Fluid Modifier is added to the object’s modifier stack.
Ocean Modifier
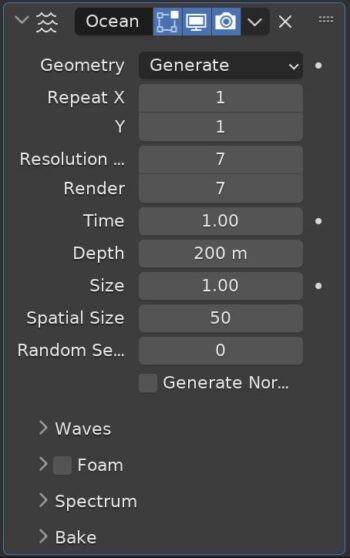
The Ocean Modifier generates a simulated ocean surface and adds a corresponding texture. There are several settings to adjust the appearance and form of the ocean.
The object will be transformed into a fixed segment and will need to be repeated along the X and/or Y axis to simulate a large ocean.
Higher resolutions settings will give the ocean more detailed waves at the cost of performance.
The speed of the waves can be controlled with the “Time” control on the ocean modifier settings.
Particle Instance Modifier
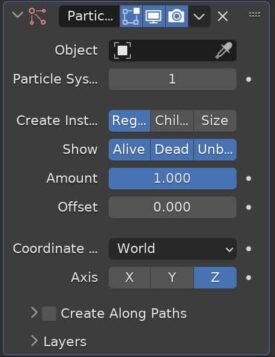
The Particle Instance Modifier creates a duplicate of the object and uses it as the particle for another object’s particle system. There must be at least one other object with a particle system in the scene for this modifier to be used.
We can choose whether we want the replacement to take effect for alive, dead or unborn particles. This would allow us to have the particles change form based on their stage of life.
Particle System Modifier

When a Particle System is added to an object, a Particle System Modifier is added to the object and a Particles Properties Panel will be added to the Properties for that object. Controls for the particle system will be found in the particle properties panel.
Soft Body Modifier

The Soft Body Modifier is the final “container” modifier on the list. When Soft Body Physics are added to an object, this modifier is also added to the stack.
Get Brandon’s Newsletter
By submitting, you agree to receive periodic e-mails from me. You can unsubscribe at any time.


