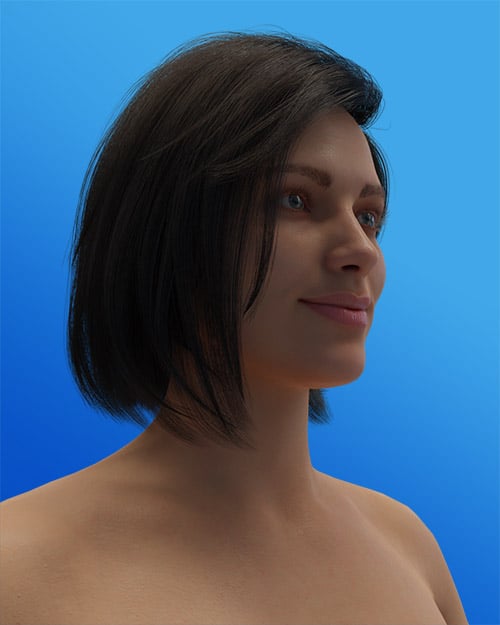
Human Generator is the best add-on I’ve found for creating realistic human characters in Blender. It has features to create base models, skin, hair and much more. The settings for each character created are entirely customizable.
Human Generator is on my list of best add-ons for Blender.
This page may contain affiliate links which pay me a commission if used to make a purchase. As an Amazon Associate, I earn from qualifying purchases.
The add-on comes with content packs for things like hair and clothes. You can purchase additional content packs or create your own. Here’s a full review, tutorial and user manual for the Human Generator add-on.
Characters created with this add-on also works great with the procedural crowd generator from Difffuse Studio!
Some of the features of Human Generator are:
I am an affiliate for the creators of Human Generator and using the links in this article to purchase the add-on pays me a small commission which is greatly appreciated and supports the page. Thank you!
Installing Human Generator
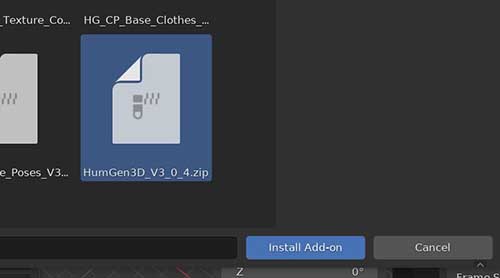
The Human Generator plug-in downloads with several .Zip files. One is the add-on itself and the rest are content packs which include files for textures, clothing, footwear and hair.
We do not need to unzip any of these but do need to store them in a single folder. The add-on installs like all other add-ons in Blender but requires some setup once it’s installed. Here’s a tutorial on how to install add-ons in Blender.
Once installed, we find the Human Generator addon in the addon preferences. Expanding the arrow shows we have some settings and installation instructions to follow.
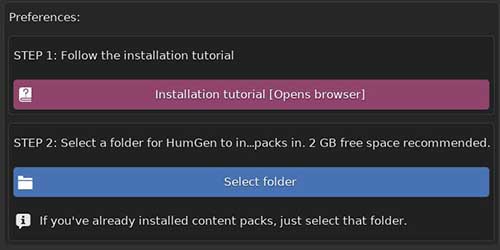
First we need to select the folder which contains the content packs that came with Human Generator. Press the blue “Select Folder” button to do this.
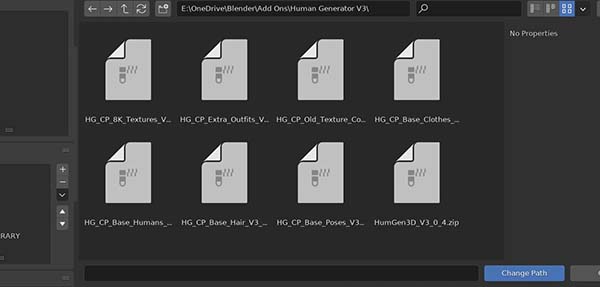
Navigate to the folder where the content packs are stored and press “Change Path.”
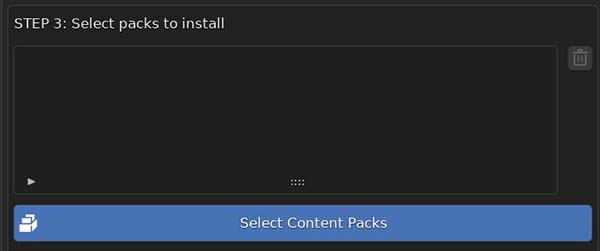
Then we will be prompted in the preferences to select the content packs we want to install. Press the blue “Select Content Packs” button.
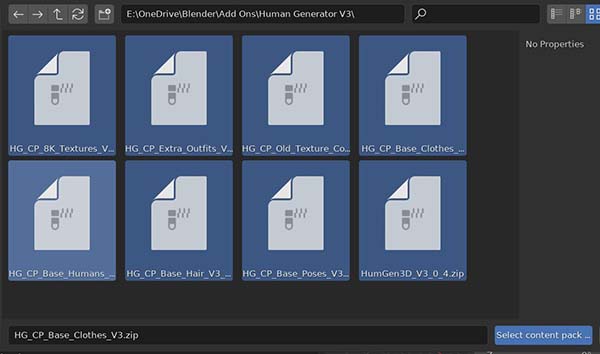
We will be taken to the folder where our content packs are stored. Select them all and press the “Select Content Packs” button.

Now that the content packs have been selected, a button labeled “Install All Content Packs” will display. Press it. The installation time only took about a minute for me but it may differ depending on your computer.
Once the content packs are installed, a settings panel will be available. There are many settings, but I recommend leaving them in the default settings to start.
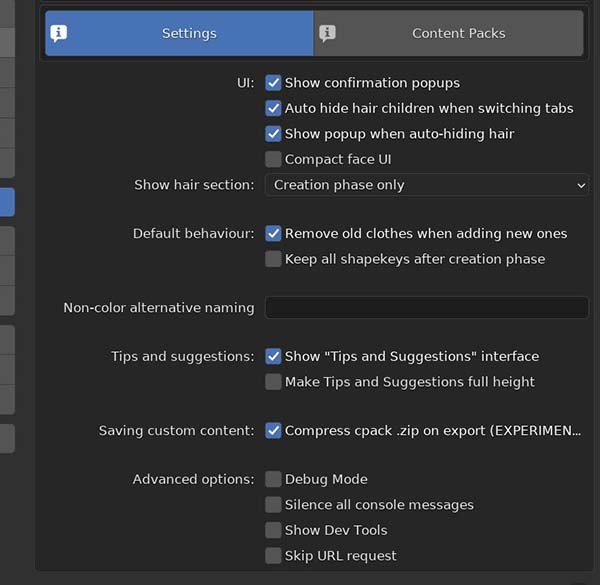
If we toggle from the “Settings” to the “Content Packs” we will be shown the installed content packs. This area will also show us if there is an update to one or more content packs from the creators of Human Generator.
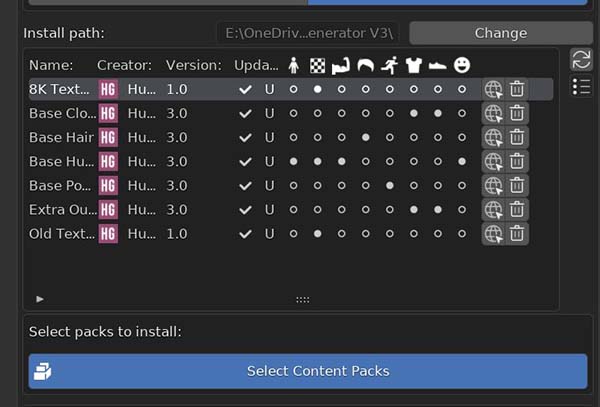
Now we can close the preferences panel and start creating realistic humans with the Human Generator add-on.
Creating a Human with Human Generator
With the add-on and content packs installed, we are ready to start creating human characters in Blender. The Human Generator controls are located in the Sidebar.
Press “N” on the keyboard to toggle open the sidebar and we will see a tab labeled “HumGen.”
Create a Base Mesh
Our first and most basic setting is to decide if we want to make a male or female character. Select one and then click in the open area above the male/female options.
Several base mesh configurations will be shown depending on which sex we selected.
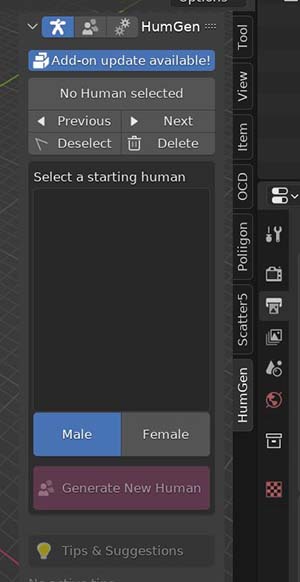
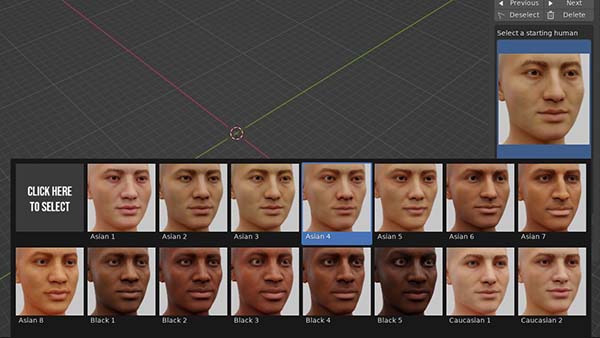
With our base mesh selected, press “Generate New Human” to enter the creation phase.
Creation Phase
There are two phases of creation in Human Generator. The first is the creation phase.
In the creation phase we are going to choose settings for the physique of our character that will be permanent.
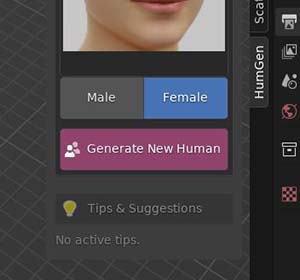
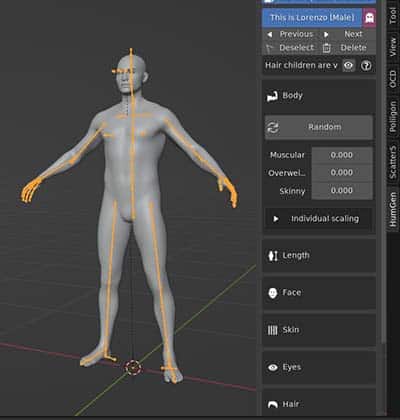
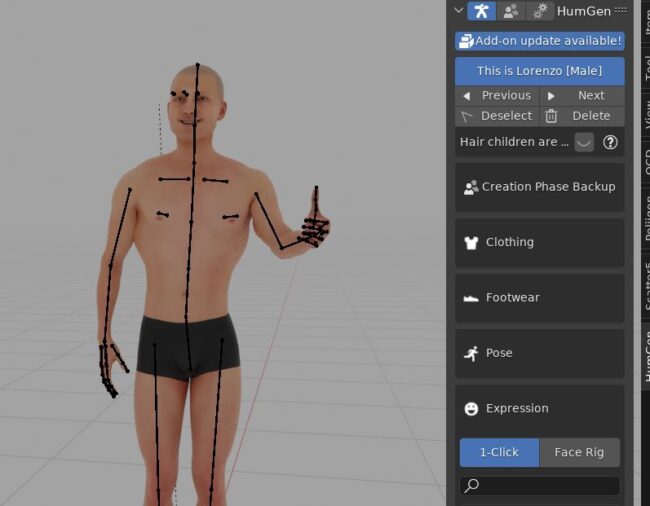
Each human created will be given a random name to keep them organized. In this case, my human was named Lorezo.
In the creation phase, we have lots of basic options to choose from.
They can be selected randomly by choosing the “Random” button at the top of each section.
We will now go systematically through each creation phase option.
Body
In the body settings, we choose our character’s muscularity, how overweight they are and how “skinny” they are.
It seems confusing how a character could be muscular, overweight and skinny. Below are some examples of what each characteristic does.
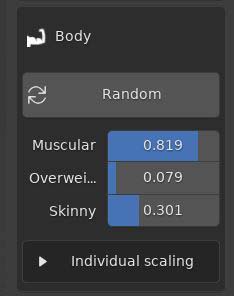
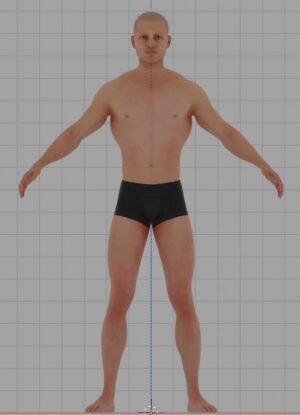
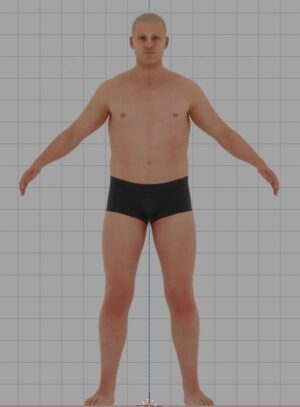
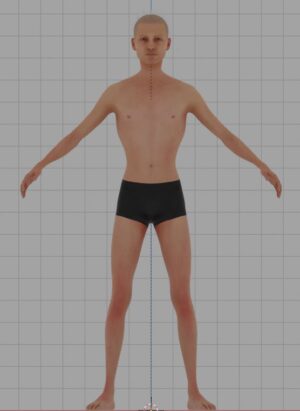
Above are images of a character with 100% muscularity, overweight and skinny with no other values. Most characters will be a combination of all three of these. By combining the values, we get unlimited options for character body types.
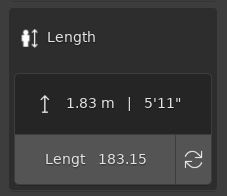
We also have a box to adjust the height or “length” of the character.
Upper Face
Facial features are extremely important for a character. Human Generator gives us many options for customizing our character’s face. Later we will be able to pose the facial expression as well.
The first set of face settings are for the upper face. We can adjust the upper skull, eyes, ears and nose. Each of these can be given a random value by pressing the “refresh” symbol next to the label.
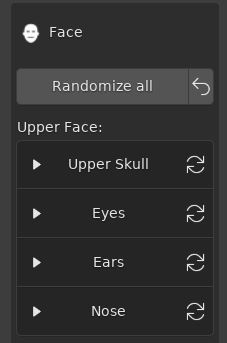
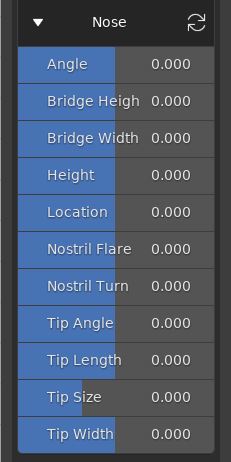
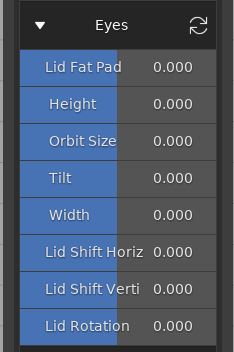
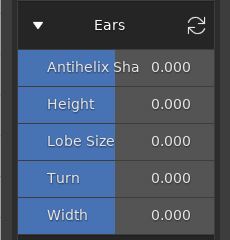
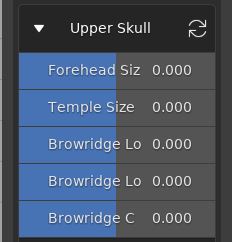
As you can see above – the nose, eyes, ears and upper skull can all be customized a lot.
Lower Face
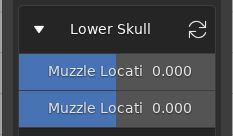
There are also a lot of customizable settings for the lower faces of our characters.
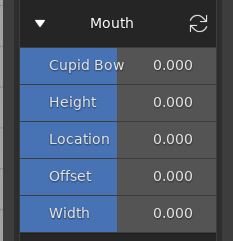
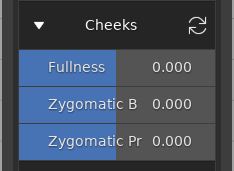
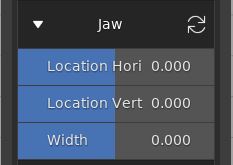
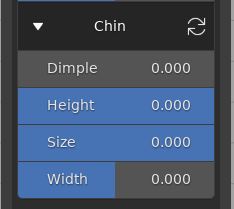
Skin
For our character’s skin, we first choose a basic skin tone and can then make adjustments to it. Press the “Click Here to Select” button to choose our character’s base skin tone.
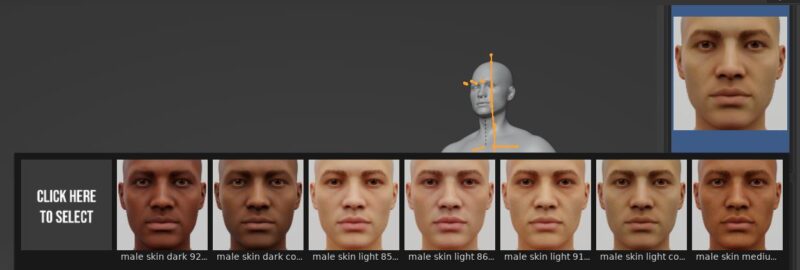
Tone, redness and saturation all affect the color of the skin. I’ve found the tone and redness to be important, but I recommend avoiding too much adjustment on the saturation if you want to maintain realism.
Normal strength and roughness affect the PBR attributes of the skin. Fine tuning these can add more detailed realism to the model.
After choosing a base skin tone, we can either choose to randomize the finer details of the skin, adjust them individually or do a combination of both.
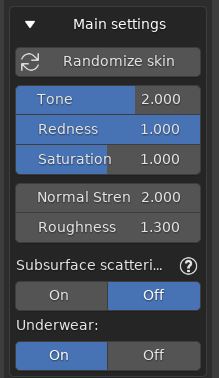
Turning on sub-surface scattering will add another layer of realism to the skin at the cost of render time and memory. This is up to you if it’s worth it.
And of course, we can choose to have our character wearing underwear or to be nude. I don’t know the proper way to say this, but the characters are not “anatomically correct” if you know what I mean.
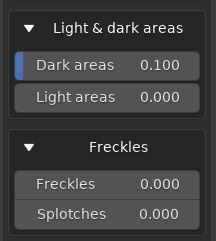
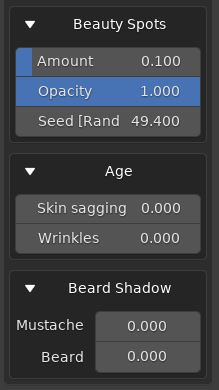
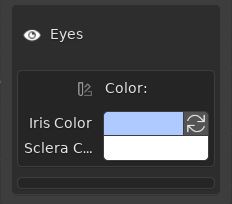
We then have even more settings for light/dark areas, freckles, beauty spots, age, beard shadow and some very basic settings for eye color.
Hair
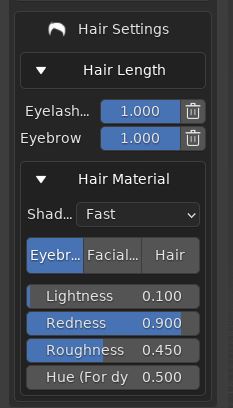
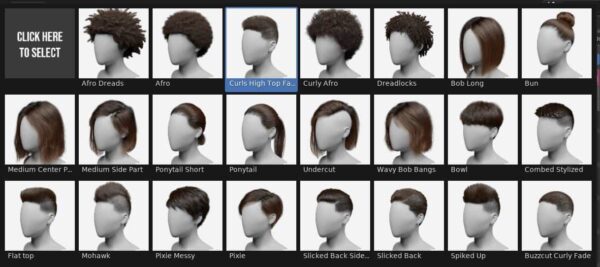
In the hair settings, we choose a basic hair style and then have options for the length. We also have options for the eyelash and eyebrow length.
Face Hair
Similar to the hair settings, we can choose facial hair for our character.

End Creation Phase
At this point, we will complete the creation phase and enter the detail phase. The changes we made in the creation phase are meant to be permanent.
A creation phase backup will be created so we can come back to these settings if we absolutely must. But all of the detail settings and posing we will do in the detail phase will be lost if we do.

Press the “Finish Creation Phase” button when you’re ready. We will be given a warning prompt reminding us we can not go back to these settings later.
Detail Phase
Everything we do in the detail page can continuously be edited even as we are using our character. This is where we can pose, dress and assign facial expressions to our character.
The first thing we may notice in the detail phase is that the hair from our character doesn’t look right. This is because the Human Generator will hide the hair children by default to maintain viewport performance in Blender.
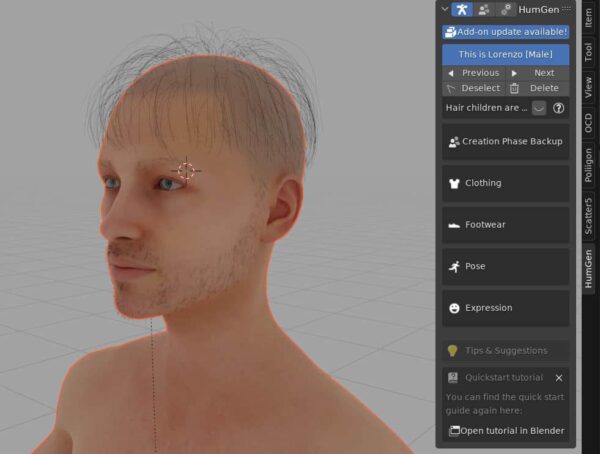
We can view the hair by toggling the icon next to “Hair children are hidden” at the top of the sidebar options.
Clothing
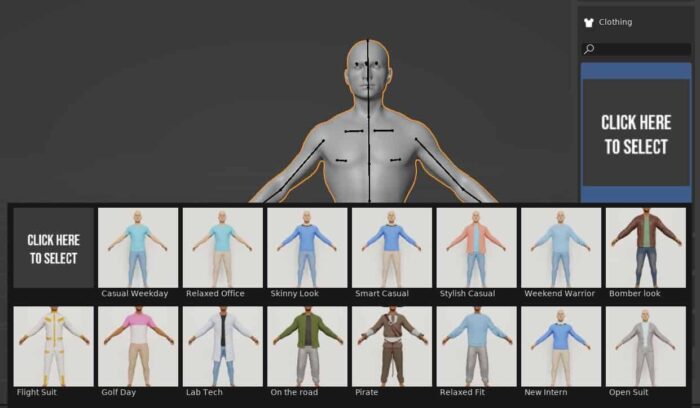
Our next set of options involve adding clothes to our Blender character. Human Generator comes with a basic content pack of both men and women clothing. The textures and colors of these can be changed extensively.
But the options are fairly limited unless you purchase additional content packs. Use the “Click Here to Select” button to pick a base clothing style.
Footwear
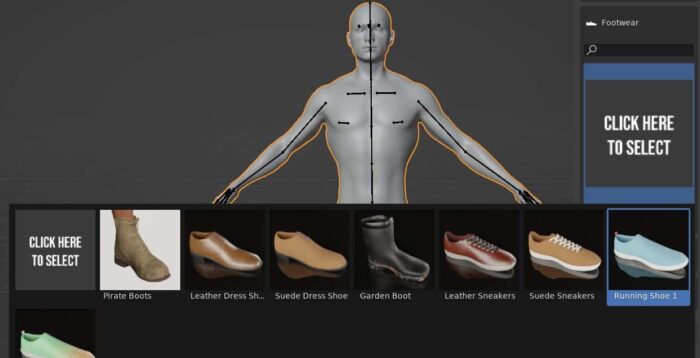
What outfit doesn’t need footwear to match? Again, Human Generator comes with a limited pack of shoes for our character. We choose footwear the same way we did the clothing.
Poses
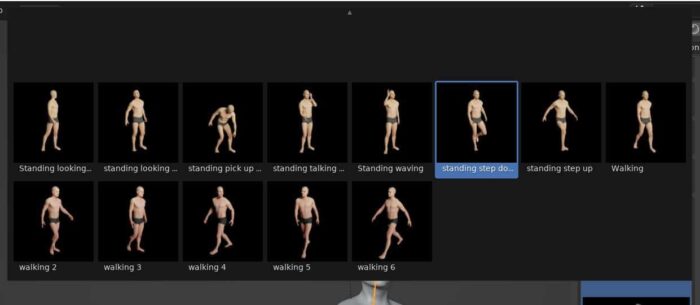
The character created by Human Generator is automatically rigged unless we tell the add-on not to rig it. This is a really good armature that seems to work well for posing and animation.
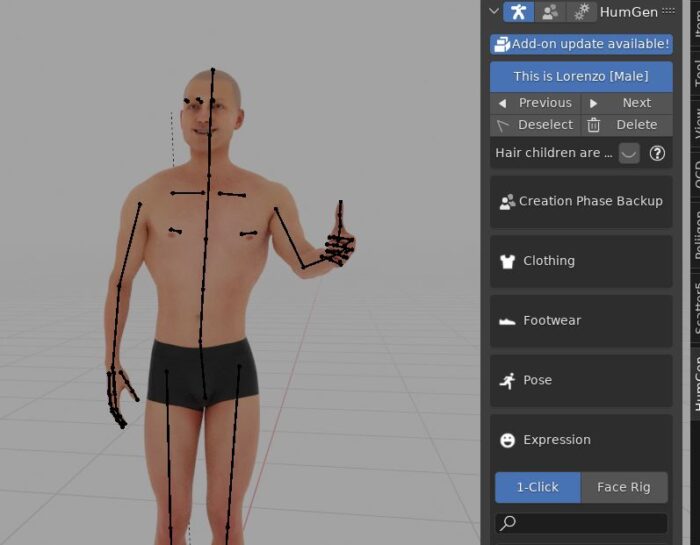
We can choose from about 20 poses that come with Human Generator but can of course manually pose our character as well.
Expressions
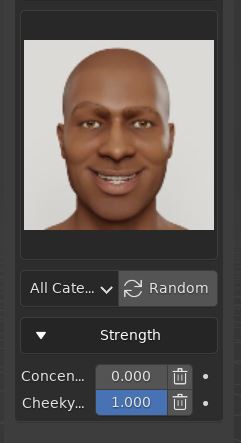
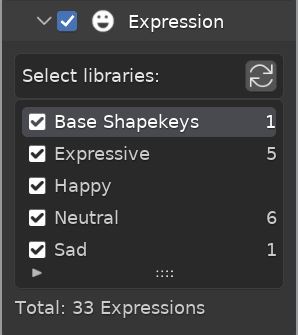
Facial expressions can bring a character to life and portray emotion. Human Generator comes with several basic facial expressions which can be adjusted. This process involves adding a facial rig to our character which is all done automatically by the plug-in.

Once an expression is chosen, we can quickly adjust the strength of it. Many expressions are a combination of more than one base expression. In the example below, we have both “concerned” and “cheeky.” The strength of each can be adjusted between zero and one to get a custom expression.
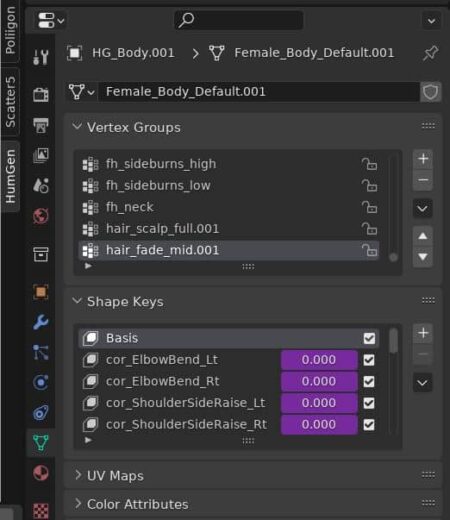
The facial expressions are all done with shape keys. We can see numerous shape keys have been created automatically and assigned to the character. At the bottom is the shape key for our facial expression.
Completed Human Character in Blender
We’ve completed building a realistic human character in Blender 3D using the Human Generator add-on. The way the add-on walks you through the steps makes it very easy to use.
Bulk Human Generation
Another feature in Human Generator is bulk creation of 3D human models. With this, we can quickly create random characters to populate a scene. This section will show you how to create a crowd of people with the Human Generator add-on.
Add Human Generator Markers
To bulk create characters with Human Generator, we need to add “Markers” to the scene. With the add-on installed, pressing Shift + A to add a new object will show us a new option. Choose “Human Generator Markers.”
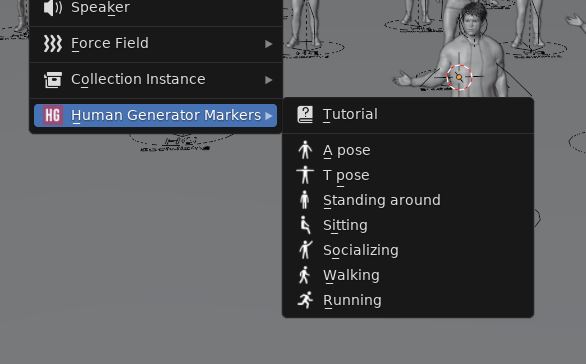
We can choose a category of marker. The category will cause the poses of the characters to be limited to ones that would make sense for the category. For example, choosing the “running” category would place all of the humans into various running poses.
The markers look like stick figures.
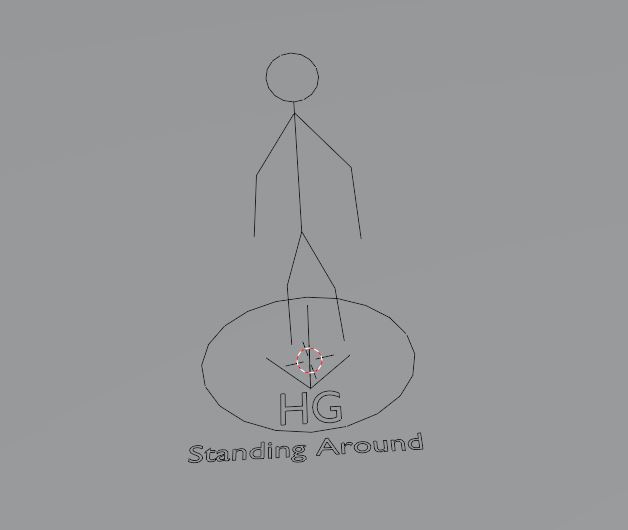
Adding a marker identifies where you want a character (of the chosen pose category) to be generated in the Blender scene. We can add as many as our computer will handle (or just add one and duplicate it).
Character Randomization
At the top of the Human Generator controls in the sidebar, we can toggle over to the icon showing two figures. These are where the bulk import settings are found.
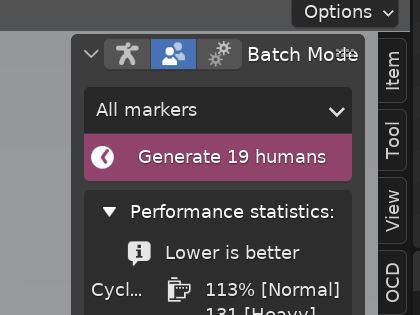
If the button shows “Generate 0 humans” it is because we have not placed any markers in the scene to indicate where the characters are to be generated.
We can select if we want a character generated at every marker, only empty markers or only selected markers.
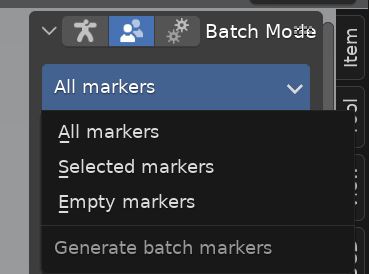
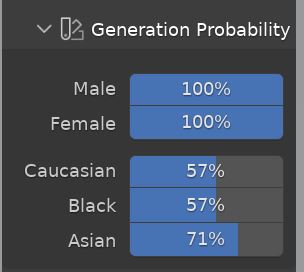
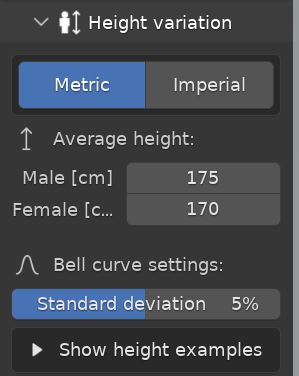
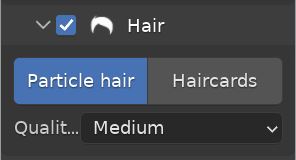
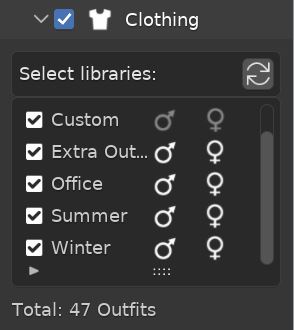
We can give the generator settings for the randomization of the created characters.
Character Generation
Once we’ve chosen our bulk creation settings, the generate button will show the number of available markers. In the example below, it shows “Generate 19 Humans.” Pressing this button will generate the humans in Blender.
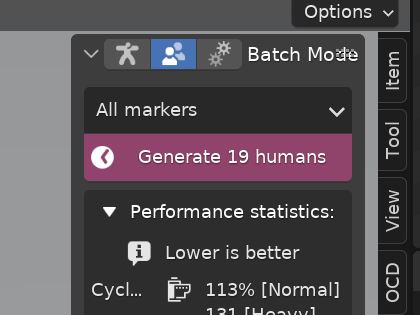
It may take several minutes for the characters to be generated depending on how many are being created, your individual settings and your computer.
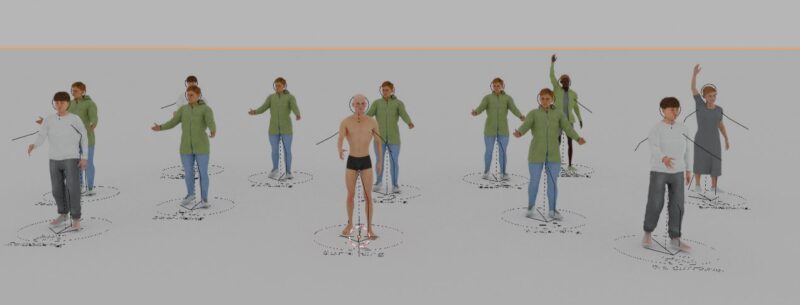
I’ve honestly found this creates way too many similar characters. I recommend creating humans in smaller batch sizes to improve the randomization.
Final Thoughts
In my opinion, Human Generator is one of the best Blender add-ons out there. I use it all the time to create realistic human characters in Blender. While the randomization of the bulk creation feature could be improved, the characters themselves are phenomenal.
If you are an asset creator, the developers provide instructions for how to create your own content packs which you can sell. I highly recommend checking out Human Generator You can also check out my other recommended add-ons for Blender.
Please have a look around my site. I provide Blender tutorials, add-on reviews, videos and more. Thank you and stay creative!
Get Brandon’s Newsletter
By submitting, you agree to receive periodic e-mails from me. You can unsubscribe at any time.
