Adding damage to objects in Blender makes them look more realistic and interesting. Doing it manually is time consuming and inconsistent. One Click Damage from VFXGuide does it all – in just one click. It’s one of my favorite Blender add-ons and here’s how to use it.
This page may contain affiliate links which pay me a commission if used to make a purchase. As an Amazon Associate, I earn from qualifying purchases.
What can the One-Click Damage add-on do?
It only does a few things, but it does them well. I personally use the One Click Damage add-on on several of my projects.
Adding procedural damage, wear and cracks
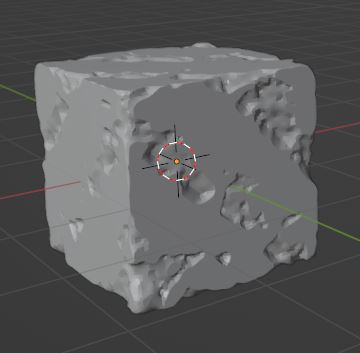
One Click Damage (OCD) is a Blender Add-on that maps damage, wear and cracks to areas of an object procedurally. It adds physical damage to the mesh of the selected object or objects.
OCD works by adding a modifier stack and using a texture as a map for the damage.
The size of the texture can be adjusted to change the damage effect. The amount of area covered by the damage can be adjusted.
We can add procedural damage to multiple selected items at once to get a uniform look across our scene.
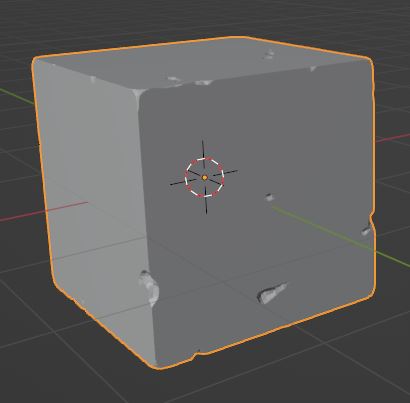
We see the damage instantly in the 3D Viewport even if we are in solid view.
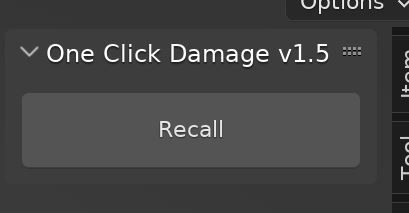
If we don’t like the damage, we can use the “Recall” feature to undo it…. even weeks later! This means the add-on is essentially non-destructive.
The damage is randomized so adding it to different objects at different times will create completely random damage effects.
OCD Adds Material Slots for Damaged and Undamaged areas
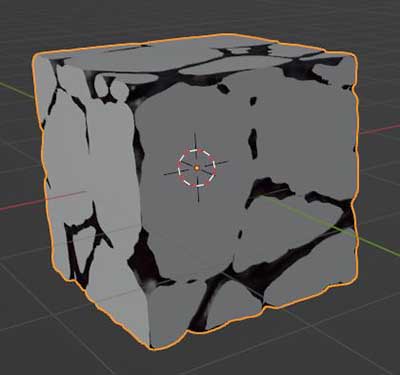
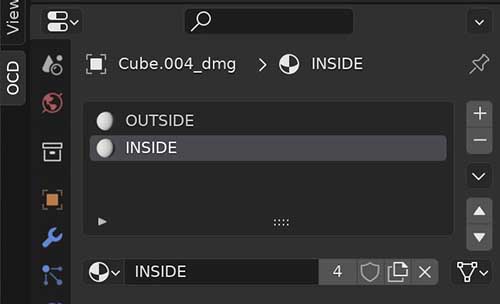
The OCD plug-in automatically adds a material slot to the damaged areas. If no material is assigned to the object, it will assign an “Outside” material slot for non-damaged areas and an “Inside” material slot for damaged areas.
If the object already has a material, it will add a new slot and assign it to the “Inside” locations without affecting our existing material.
How to Use the One-Click Damage Add-On
Installing the plug-In
Like most Blender add-ons, OCD comes in a .ZIP file which we install in the Add-on area of the Preferences. Press “Install” on the top right and navigate to where we have the downloaded .ZIP file (Don’t unzip the .ZIP file!).
Select the add-on file and press “Install.” Then find “OCD” in the list of add-ons and check the box next to it. Now the One Click Damage add-on is installed and activated.
I have more on how to install and activate add-ons in Blender.
Where to Find the OCD Add-on Controls
Once installed, the One Click Damage controls are found in the Sidebar (which is toggled open with the “N” key).
We will now find a tab labeled “OCD.” Select this tab to open the controls.
Initially, we’ll only see one button that says “Make Damage.” This will open the settings panel. We can see there are only a few settings. OCD is a really simple and straight-forward add-on.
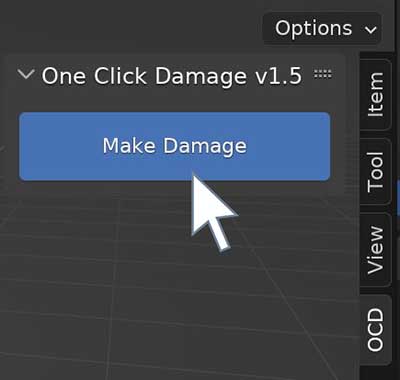
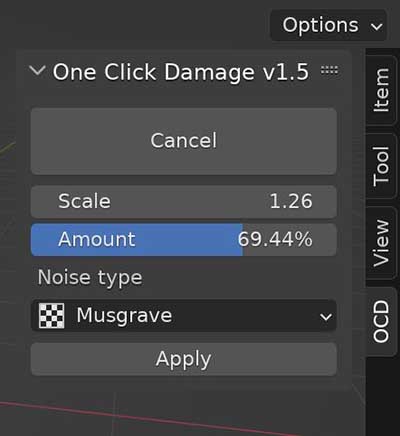
Let’s go through what each of the settings in the add-on does and see how they affect our Suzanne model.
OCD Damage Scale
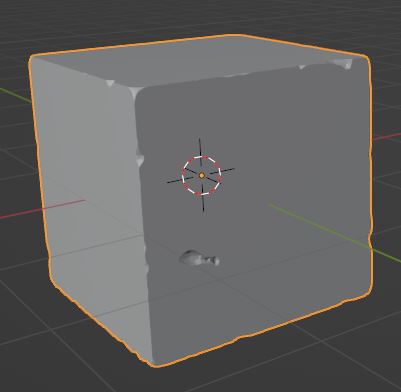
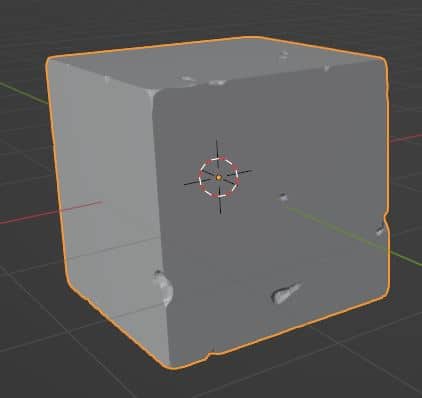
The scale affects the scale of the texture used to map the damage to the object. Lower scale values will have smaller amounts of damage spread over more of the object. Larger values will show larger chunks of damage.
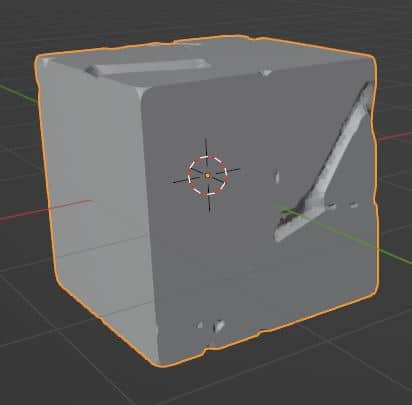
OCD Damage Amount
The amount of the damage is a percentage. Increasing it places damage on more portions of the object. The combination of the damage and amount settings can get us just the right amount of damage where we want it.
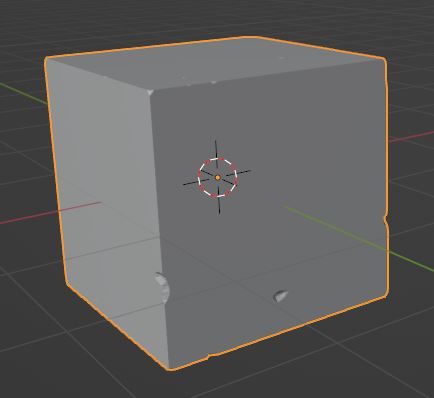
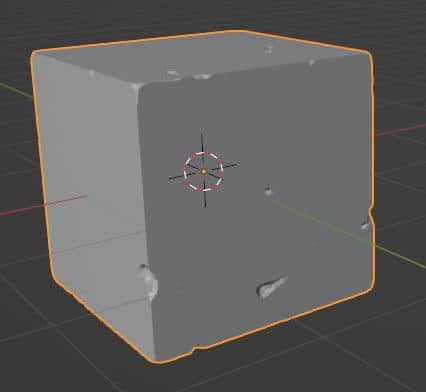
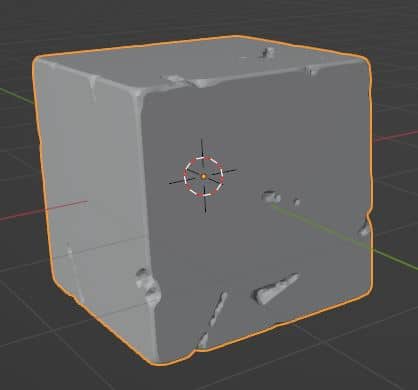
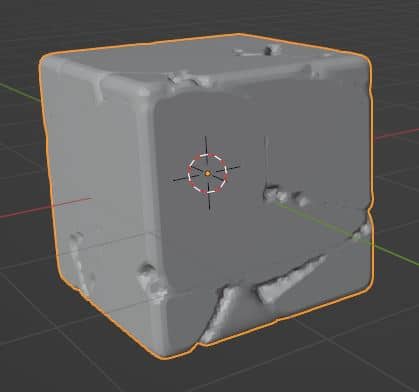
OCD Noise Type
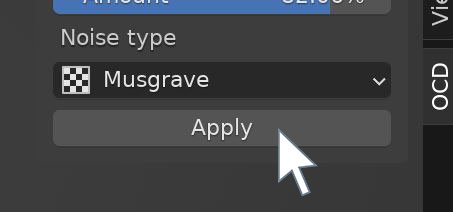
There are eleven different types of texture maps we can use to get different damage effects with the One Click Damage addon for Blender. Each noise type gives a different effect and again can be combined with the damage scale and amount setting.
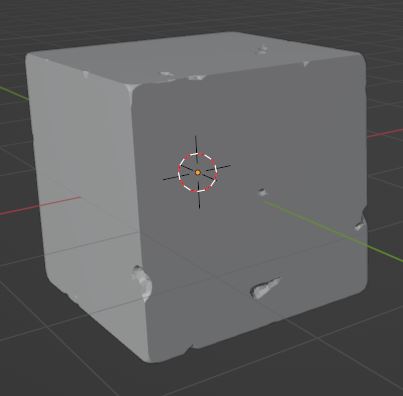
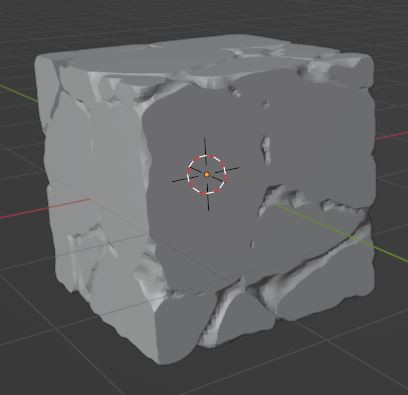
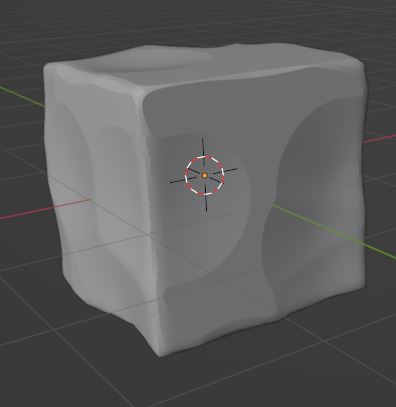
Applying the Damage to an Object
The damage will adjust in real time within the 3D Viewport. Once we have it the way we want it, we press the apply button and the damage is applied.
We do need to apply this because otherwise the damage will disappear from the object when we next use the OCD addon.
Adding Damage to Multiple Objects
We can use OCD to individually add procedural damage to as many objects in our scene as we like. The damage will be randomized. As an experiment, I added damage to a number of cubes with the same settings and each one had a different damage pattern.
Or, we can select multiple objects at the same time and apply the damage once. It will apply the same settings for the damage but each object will have a randomized pattern of damage.
Recall Damage
If, for any reason we are not happy with the damage and want to go back to change it, we can re-open the OCD tab in the sidebar menu.
With the object or objects selected, we will now see the option to “Recall” the damage.
And we’re done. A few settings and a single click. I know it’s a simple Blender add-on but sometimes simple is the best.
Troubleshooting OCD Addon
Here are a few of the most common issues you may run into with OCD and how to fix them.
Non-Manifold Mesh Issue
The One Click Damage plug-in works fairly well, but there is one issue you might run into. In this example, I tried to apply damage to the house in the following images… but ran into a major issue.
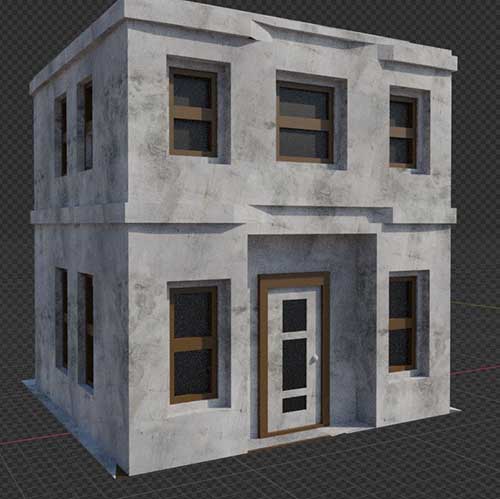
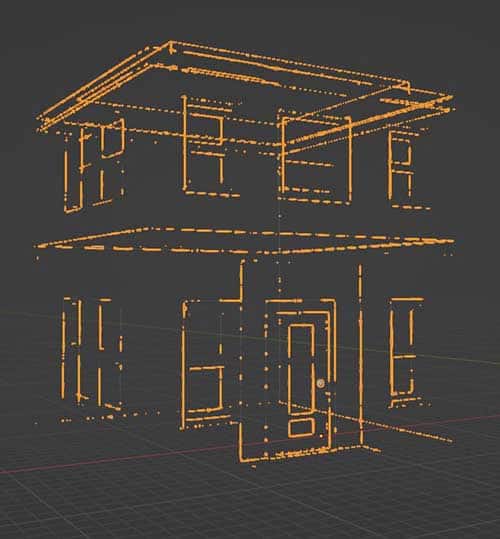
The problem is caused because the building is a Non-Manifold Mesh. This means the mesh is not fully closed. OCD won’t work on a non-manifold mesh. In the following image, you see the bottom of the building was left open.
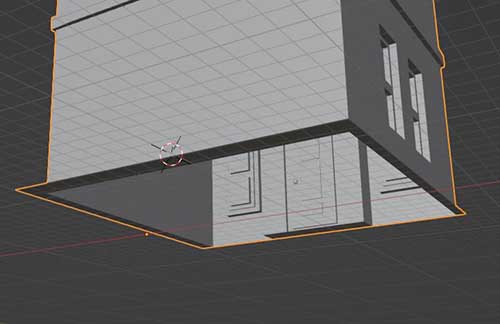
The solution was to close the bottom of the building to make this into a Manifold Mesh. I selected the bottom edges and pressed “F” to fill in the opening.
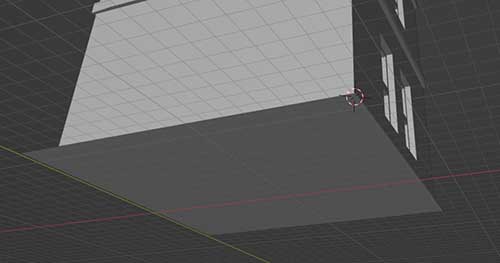
With the mesh now fully enclosed, OCD created the procedural damage.
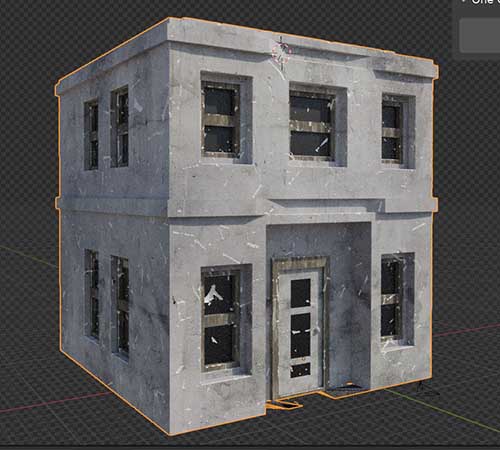
So, unfortunately if we are trying to use the One-Click Damage add-on for a non-manifold mesh, we are out of luck. But it does work on more complicated meshes as long as they are fully enclosed.
My thoughts on the OCD add-on for Blender
I’ve been using One Click Damage (OCD) on a lot of my art for a while now. It’s very simple, doesn’t take up much room on the sidebar menu and I find uses for it more that I thought I would.
For a few bucks on Blender Market, the add-on is yours. Take a look around my site for more Blender and 3D content. Join my mail list for exclusive tutorials, tips and updates. Stay Creative!
Get Brandon’s Newsletter
By submitting, you agree to receive periodic e-mails from me. You can unsubscribe at any time.


